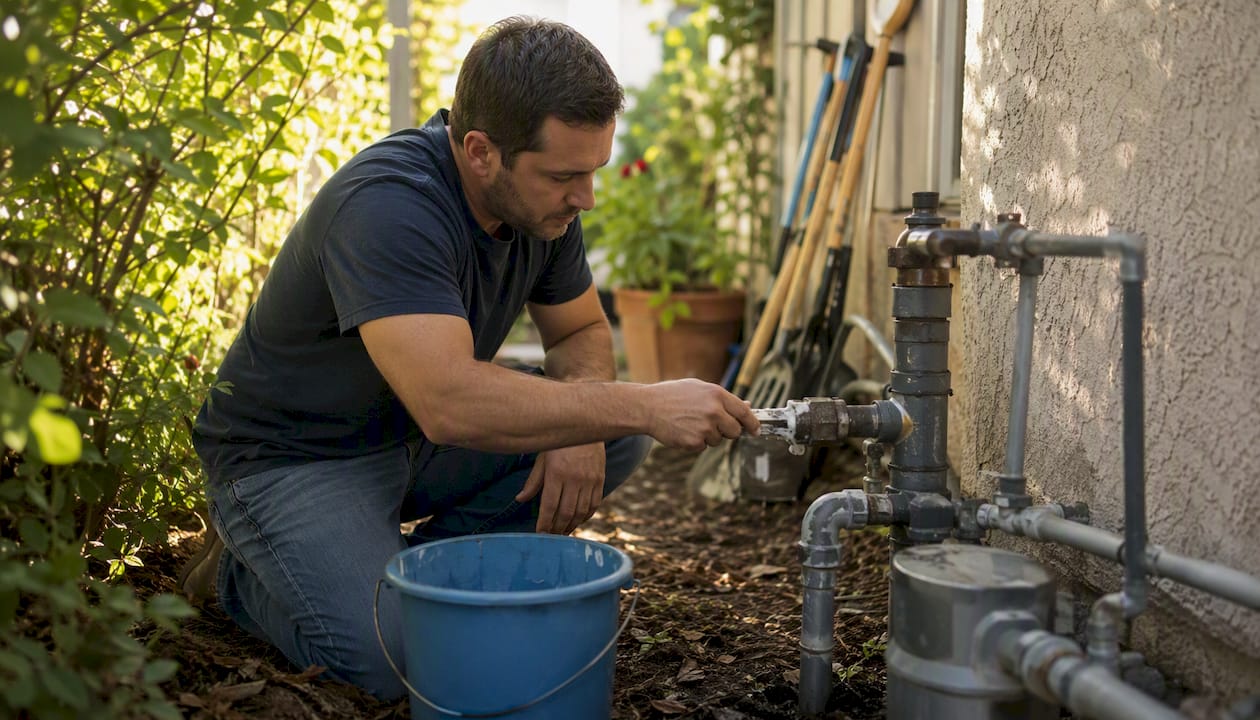
If you smell rotten eggs or hear a hissing sound near a gas line, leave your home immediately, avoid touching any switches or phones inside, and call 911 or your gas utility from outside or a neighbor’s house. Do not go back in until emergency professionals or utility crews confirm the property is safe. That sequence, evacuate first, call second, wait for clearance third, is the single most important thing to know about natural gas leak repair.
Natural gas is odorless on its own. Utility companies add mercaptan, a sulfur compound that smells like rotten eggs or a struck match, specifically so you can detect leaks by smell. If you catch that odor indoors, treat it as a confirmed emergency, not a maybe.
- Leave every door open on your way out to help disperse gas.
- Do not flip light switches, use your phone, start your car in the garage, or light anything.
- Get everyone out, including pets.
- Call 911 and your gas utility from a safe distance (at least 100 feet from the building).
- Do not re-enter until a utility technician or licensed plumber clears the scene.
ADT’s home safety guidance and Constellation’s natural gas safety resource both confirm that homeowners should never attempt to locate or repair a leak themselves during an active emergency. For follow-up repair and pressure testing after the utility secures the scene, Psvplumbinginc provides licensed gas-line repair services.
Table of Contents
- What should you do in the first 10 minutes after suspecting a gas leak?
- How do you recognize a gas leak and check for one safely?
- When can you attempt a temporary fix, and when do you call a pro?
- Common temporary actions: what’s safe and what creates more risk
- What does a licensed plumber actually do during a professional gas-line repair?
- How do you reduce the risk of future gas leaks?
- Key Takeaways
- What professionals prioritize that most homeowners overlook
- Psvplumbinginc: licensed gas-line repair when it matters most
- Useful sources and further reading
What should you do in the first 10 minutes after suspecting a gas leak?
Speed and sequence matter here. Follow these steps in order:
- Evacuate everyone immediately. Move all people and pets out of the building. Do not stop to gather belongings.
- Leave doors open as you exit. This helps ventilate the space and slows gas concentration.
- Do not touch any electrical switches, outlets, or appliances. Even a light switch can produce a small spark.
- Do not use your cell phone until you are outside and away from the building.
- Move at least 100 feet from the structure before making any calls.
- Call 911 first, then your gas utility’s emergency line. Both need to know. The utility will dispatch a technician to shut off service at the meter.
- Shut off the gas at the outdoor meter shutoff valve only if you are trained to do so and it is safe to reach. Turn the valve a quarter-turn so it sits perpendicular to the pipe. If you are unsure, leave it and let the utility handle it.
- Do not re-enter the building for any reason until a utility technician or licensed professional confirms it is safe.
- Meet emergency responders at the street and tell them what you smelled, where, and when.
- Once the utility secures the scene, contact a licensed plumber like Psvplumbinginc for leak location, repair, and pressure testing before service is restored.
PSE’s natural gas safety guidance reinforces that the gas company’s role is to shut off service and confirm the source. Repair and re-energizing are separate steps that require either the utility or a licensed technician.
Pro Tip: Program your gas utility’s 24-hour emergency number into your phone now, before you ever need it. In a real emergency, searching for it costs time you may not have.
How do you recognize a gas leak and check for one safely?
Detection methods: what homeowners can safely do vs. what requires a pro
| Detection Method | How It Works | Homeowner-Appropriate? | Sensitivity |
|---|---|---|---|
| Visual and audible check | Look and listen for damage, hissing, dead vegetation | Yes, outdoors only | Low; misses small leaks |
| Soapy-water bubble test | Apply soapy water to accessible threaded fittings; bubbles indicate a leak | Yes, for outdoor accessible fittings only | Moderate; confirms active leak at a specific point |
| Handheld combustible-gas detector | Electronic sensor detects gas concentration in air | Yes, outdoors; use before entering any space | Moderate to high; varies by device quality |
| Utility-level sniffer / combustion analyzer | Calibrated instruments used by technicians | No; professional use only | High |
| Pressure-hold testing (manometer) | Measures pressure drop in isolated line segment | No; professional use only | Very high; certifies repair integrity |
| Tracer gas / infrared imaging | Injects tracer gas or uses thermal camera to locate buried or hidden leaks | No; professional use only | Very high; used for underground and concealed lines |

The Cincinnati Test leak-testing overview notes that pressure-decay and tracer-gas methods are the standard for certifying repairs, while bubble tests are useful for spotting active leaks but cannot certify that a repair is complete.
Where TridentSeal fits in
TridentSeal is a manufacturer-marketed live-repair kit designed for active natural gas leaks at threaded fittings and pinholes up to 1/8" in diameter, at pressures up to 125 psi (8.6 bar) during application. It is not a general-purpose DIY product. The manufacturer’s installation PDF requires specific surface preparation, eight outer-wrap layers, and a cured pressure rating of 250 psi (17.2 bar). These requirements place it firmly in the hands of trained technicians rather than homeowners working without professional oversight.
Pro Tip: A handheld combustible-gas detector costs $30–$100 at most hardware stores and gives you a fast, objective reading before you get close to a suspected leak point. Use it from outside and upwind.
When can you attempt a temporary fix, and when do you call a pro?
This is the decision most homeowners get wrong. The default answer for any active indoor gas leak is: do not attempt a fix. Call 911 and the utility. Period.
Red flags that always require professional and utility response
- Any leak detected indoors or near the meter.
- A hissing sound you can hear from several feet away (indicates significant flow rate).
- Multiple appliances failing simultaneously.
- Smell strong enough to cause physical symptoms.
- Unknown leak source.
- Any leak in a meter-side or service-line section (the utility owns and controls this).
- Older steel or cast-iron piping with visible corrosion.
When a limited temporary action may be considered
Small, accessible, outdoor threaded-fitting leaks with very low pressure are sometimes candidates for temporary containment using an approved kit like TridentSeal, but only when:
- The gas supply to that section has been safely isolated.
- The fitting is accessible, above ground, and clearly identified.
- The homeowner or technician is trained in the kit’s application procedure.
- Local code permits non-licensed work on that section (many U.S. jurisdictions require a licensed plumber for any gas-line work, regardless of scope).
- Follow-up pressure testing by a licensed professional is scheduled immediately after.
Common temporary actions: what’s safe and what creates more risk
Homeowners facing a suspected minor leak often reach for whatever is available. Some of those instincts are reasonable. Others create serious hazards.
- Turning off the gas at the meter shutoff: Safe and recommended if you are trained and the valve is accessible. This is the most effective immediate action short of calling the utility.
- Soap-bubble test on an outdoor fitting: Safe as a detection step. Not a repair. Seeing bubbles tells you where the leak is; it does nothing to stop it.
- Electrical isolation (turning off the breaker to nearby appliances): Reasonable precaution to reduce ignition sources, but only after you are already outside.
- Standard plumber’s tape (PTFE tape) on a leaking threaded fitting: Inadequate for an active gas leak. PTFE tape is a thread sealant used during assembly, not a repair material for a live leak. Applying it to a leaking fitting does not create a gas-tight seal.
- Duct tape, pipe putty, or improvised wraps: These are not rated for gas service and will not hold. They may also mask a leak that continues to grow.
- TridentSeal or similar manufacturer-approved live-repair kits: Acceptable as a temporary or permanent measure only when applied exactly per manufacturer instructions, on the correct fitting type, within the specified pressure range, and with proper surface preparation. The TridentSeal installation guide specifies eight outer-wrap layers and precise surface prep. Skipping steps voids the repair’s integrity. For a broader comparison of available kits, the top gas line repair kits guide covers current options.
Chasing a leak with a torch or heat source to “burn off” gas is extremely dangerous and should never be attempted. Applying heat near a gas leak creates an ignition risk, not a repair.
Temporary fixes also tend to hide the underlying problem. A pinhole leak in a corroded section of pipe is a symptom, not the whole story. A licensed plumber performing pressure testing will often find that the corrosion extends further than the visible leak point, requiring section replacement rather than a spot repair.
Pro Tip: If you use a manufacturer live-repair kit as a temporary measure, document the date, kit size, pressure at application, and fitting location. Your licensed plumber will need this information for follow-up pressure testing and permit documentation.
What does a licensed plumber actually do during a professional gas-line repair?
Understanding the professional workflow helps you know what to expect on-site and why certain steps cannot be skipped.
- Leak location. Using calibrated combustible-gas detectors, acoustic listening devices, or infrared imaging, the technician pinpoints the exact leak source. For buried lines, acoustic and infrared methods can locate leaks without full excavation in some cases.
A pressure-hold test with a calibrated manometer is the accepted method that certifies a gas-line repair is complete and leak-free. A visual check or bubble test alone does not generally meet code acceptance in most U.S. jurisdictions.
What homeowners should expect on-site: a minor fitting repair typically takes a few hours including testing. Section replacements can require several hours. Excavation projects for underground lines can take from one day to multiple days depending on depth, access, and permit requirements. The utility’s scheduling for re-energizing can add time beyond the repair itself.
How do you reduce the risk of future gas leaks?
Most residential gas leaks are preventable. Corrosion, aging connectors, and third-party excavation damage account for the majority of incidents.
- Call 811 before any digging project — This free service marks underground utility lines, including gas, before excavation. Skipping this step is one of the leading causes of outdoor gas-line damage. Constellation’s safety guidance specifically highlights 811 as a critical prevention step.
For a full homeowner maintenance checklist that covers gas lines alongside other plumbing systems, the preventive plumbing measures guide is a practical starting point.
Key Takeaways
Safe natural gas leak repair requires immediate evacuation, utility or 911 notification, and professional pressure testing before re-occupancy. No repair is complete without a certified pressure-hold test.
| Point | Details |
|---|---|
| Evacuate first, always | Leave immediately, avoid sparks, and call 911 and your gas utility from a safe distance. |
| DIY limits are strict | Temporary fixes are only appropriate for small outdoor fittings with isolated supply; most U.S. codes require a licensed plumber for gas-line repairs. |
| Pressure testing certifies repairs | A soap-bubble test spots leaks but does not certify a repair; only a manometer pressure-hold test meets code acceptance. |
| Re-occupancy requires professional clearance | Do not return home until a utility technician or licensed plumber explicitly releases the property. |
| Psvplumbinginc handles the full repair workflow | From leak location and pressure testing to permit documentation and utility coordination, Psvplumbinginc provides licensed gas-line repair services. |
What professionals prioritize that most homeowners overlook
The most common mistake homeowners make after a gas-leak incident is treating the repair as the finish line. It is not. The repair is the middle of the process. What comes before it (safe isolation and accurate leak location) and after it (pressure testing, documentation, and utility re-energizing) is where the real safety work happens.
A technician who isolates a section, makes a repair, and skips the pressure test has not finished the job. Pressure testing is not a formality. It is the only objective confirmation that the repaired section holds under operating conditions. Without it, you are relying on visual inspection alone, and gas leaks are not always visible.
There is also a tendency to underestimate the scope of a leak. A pinhole in a corroded fitting is rarely an isolated problem. Corrosion spreads along pipe runs, and a single visible failure point often signals that adjacent sections are compromised. A licensed plumber who pressure-tests the full downstream system after a repair will catch those secondary issues before they become emergencies.
Conservative decisions, isolating service even for small leaks, requiring documentation, and scheduling follow-up inspections, are not excessive caution. They reflect what the work actually requires to be done correctly.

Psvplumbinginc: licensed gas-line repair when it matters most
When a gas leak has been secured by the utility and it’s time to repair, test, and restore service, you need a licensed plumber who handles the full process, not just the visible fix.

Psvplumbinginc provides emergency gas-line repair services including leak location, repair or section replacement, pressure testing with documented results, permit handling, and coordination with your utility for re-energizing. We respond to emergency calls, assess the full scope of the damage, and give you a clear picture of what the repair involves before work begins.
To reach us for emergency service or a free estimate, have your address, meter location, and a brief description of what you smelled and where ready. Our team will triage the situation and get a licensed technician on-site. For a full overview of what professional gas-line work involves, visit our gas line inspection and repair page or review our pipe repair workflow guide to understand exactly what to expect from start to finish.
Useful sources and further reading
The following sources were used in preparing this guide. Each is authoritative for its specific area and worth bookmarking for reference.
- Home natural gas safety tips – Constellation
- TridentSeal Live Leak Repair Kit for Gas Piping – CS-NRI
- Live Leak Repair Kit for Natural Gas Piping (TridentSeal) – CS-NRI PDF
- Natural gas safety tips and information – PSE
- Leak detection – Wikipedia
- Leak detection methods – Pfeiffer Vacuum
- 5 most common types of leak testing and when to use them – Cincinnati Test
- Natural Gas Leaks in the Home: What You Need to Know – ADT
- Gas Line Plumbing: Costs, Safety, and Hiring Guide – PSV Plumbing Inc
Leave a Reply