TL;DR:
- Proper water heater placement in new construction depends on code-compliant clearances, conditioned space installation, and proper drainage. Proper planning during design prevents costly mistakes, ensures safety, and improves efficiency and daily comfort. Local permits and inspections are mandatory to meet safety standards and avoid future liabilities.
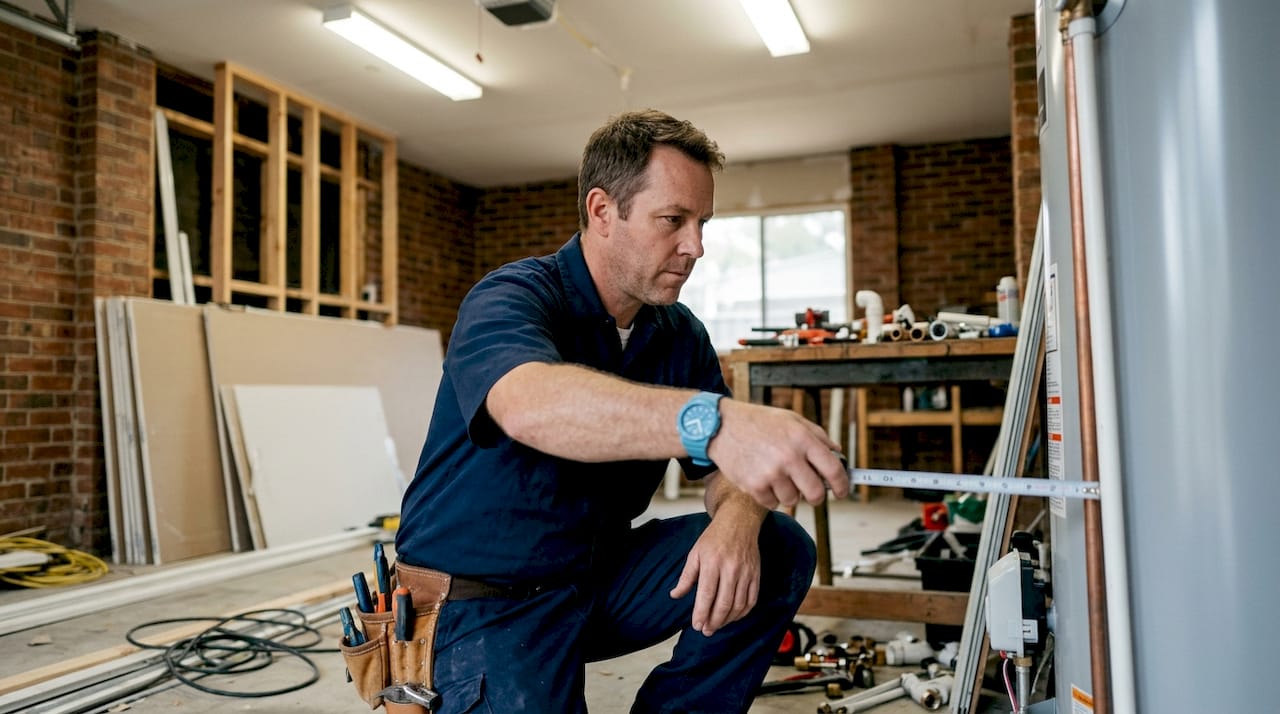
Water heater placement in new construction is defined by clearance requirements, code compliance, and proximity to fixtures. Get it wrong and you face failed inspections, higher energy bills, and costly retrofits. The right new construction water heater placement tips cover three non-negotiable pillars: minimum clearances per 2026 industry standards, conditioned space installation for efficiency, and proper drainage design. Psvplumbinginc works with homeowners and builders daily on these decisions, and the difference between a well-placed unit and a problem unit almost always comes down to planning before the walls go up.
1. What clearances and access space are required for optimal water heater placement?
Clearance minimums specify 18 inches in front of the unit and 6 inches on the sides and rear as the baseline standard for 2026. These numbers are not suggestions. They are the floor, not the ceiling, for safe installation.
Going beyond the minimum pays off. Aiming for 24 inches of clearance in front of the control panel makes valve adjustments, element replacements, and annual inspections far easier. Tight spaces force technicians to work at awkward angles, which increases the chance of errors and raises your service bill.
Emergency access matters just as much as routine maintenance. A clear, unobstructed path at least 3 feet wide to the unit is the standard recommendation. If a pipe bursts at 2:00 AM, you need to reach the shutoff valve without moving boxes or climbing over stored items.
Floor support is a detail many builders underestimate. A 50-gallon tank filled with water weighs over 500 lbs. The floor must be level, structurally sound, and able to carry that load without deflection. A concrete slab or pressure-treated wood platform works for most installations.
Key clearance requirements at a glance:
- 18 inches minimum clearance in front of the unit
- 6 inches minimum clearance on sides and rear
- 24 inches recommended in front of the control panel for service access
- 3 feet minimum unobstructed pathway to the unit
- Level, load-bearing floor capable of supporting over 500 lbs for standard tank units
Pro Tip: Plan your utility room or closet dimensions during the framing stage. Adding 6 extra inches to the room width costs almost nothing at framing and saves hundreds in future service calls.
2. How does water heater location in conditioned spaces improve efficiency and lifespan?
Installing a water heater in a conditioned, insulated space improves energy efficiency and reduces thermal stress on the tank compared to unconditioned attics or garages. The unit works less hard to maintain set temperature when the surrounding air is already warm. That translates directly to lower monthly energy costs and fewer heating cycles over the unit’s life.

Unconditioned spaces create two problems. First, cold ambient air forces the heater to run longer to compensate for standby heat loss through the tank walls. Second, temperature swings cause the tank and fittings to expand and contract repeatedly, accelerating wear on seals and connections.
Freezing risk is a real concern in colder climates. A water heater placed in an unheated garage or crawl space faces pipe freeze risk during winter months. Pipe insulation helps, but it does not eliminate the risk the way a conditioned interior location does.
Ideal conditioned locations for new construction include:
- Interior utility closets near the main bathroom or kitchen
- Mechanical rooms with insulated walls and climate control
- Heated basements with direct access to main plumbing runs
- Insulated interior hallway closets sized to meet clearance requirements
Maintenance visibility is a direct benefit of accessible interior placement. A water heater in an open utility space allows you to spot early signs of corrosion, sediment buildup, or minor leaks before they become structural problems. Learn more about long-term maintenance practices that extend equipment life regardless of where your unit sits.
3. What are important drainage and leak prevention considerations in new construction?
Drain pans must be at least 1.5 inches deep and piped to a floor drain or exterior discharge point to prevent water damage from leaks. The pan must also be wider than the heater’s footprint. A pan that only catches the center of a leak while water runs off the sides defeats the purpose entirely.
Gravity-fed drainage is the standard. Drain pans should be piped downhill without horizontal runs that trap water. Flat or uphill drain lines allow water to pool silently under the unit, causing structural damage that goes undetected for months.
Code requirements under IRC 2021 P2801.1 treat drainage as a non-negotiable installation element, not an optional upgrade. Skipping a properly piped pan to save time during construction creates liability and almost always triggers an inspection failure.
Key drainage requirements:
- Pan depth: minimum 1.5 inches
- Pan width: must exceed the heater’s full footprint
- Drain line: gravity-fed, pitched downhill to floor drain or exterior
- No horizontal trap sections that allow water to pool
- Accessible drain connection for inspection and cleaning
Pro Tip: Route the drain line during rough-in before the subfloor is closed. Retrofitting a drain path after construction is complete can cost several times more than planning it from the start.
4. What location strategies reduce energy waste and improve hot water delivery speed?
Placing the water heater close to the most-used fixture clusters reduces hot water wait times and cuts energy lost to pipe cooling between uses. The physics are simple: shorter pipe runs mean less water sitting in the line between the heater and the faucet. Less standing water means faster delivery and less water wasted while you wait for it to run hot.
The priority order for proximity is bathrooms first, kitchen second, and laundry third. In most new construction floor plans, the primary bathroom and kitchen share a plumbing wall. Placing the water heater on or near that shared wall serves both fixtures with minimal pipe run.
Tankless water heaters offer more placement flexibility than tank units because they heat on demand and can be installed closer to point-of-use locations. A tankless unit mounted near a master bath, for example, eliminates the long wait that plagues tank units installed in a distant garage.
When ideal proximity is not possible due to floor plan constraints, consider these alternatives:
- Recirculation pump systems that keep hot water moving through the loop continuously
- Point-of-use electric heaters at distant fixtures like a detached garage bathroom
- Central mechanical room placement that splits the distance between fixture clusters
- Insulated hot water lines to reduce standby heat loss in longer runs
Interior placement also avoids the venting complications that come with garage or exterior installations for gas units. Gas water heaters in garages require sealed combustion or direct-vent configurations to prevent exhaust from entering living spaces. That adds cost and complexity that interior conditioned placement avoids entirely.
5. What permits, inspections, and code requirements must new construction installations satisfy?
Water heater placement is not a free design choice. Location must comply with IRC 2021 P2801.1, manufacturer installation instructions, and local building department requirements. Treating placement as a convenience decision rather than a code decision is the most common mistake builders make.
The permit and inspection process for new construction water heater installs covers five standard checkpoints:
- Permit application filed with the local building department before installation begins
- T&P valve verification confirming the temperature and pressure relief valve is correctly sized and discharged to a safe location
- Venting inspection checking that exhaust gases route safely to the exterior per NFPA 54 for gas units
- Drainage review confirming the drain pan is properly sized, installed, and piped
- Seismic strapping inspection required in earthquake-prone regions to secure the tank against movement
Most jurisdictions require plumbing or mechanical permits and a formal inspection before the installation is approved. Skipping this step does not just risk a fine. It can void your homeowner’s insurance coverage if a water heater failure causes damage and the unit was never inspected.
Coordinating with your local building department early in the design phase prevents surprises. Some jurisdictions have requirements beyond the IRC baseline, including specific venting materials, pan drain discharge locations, or energy efficiency ratings. The plumbing inspection process for 2026 covers these checkpoints in detail and helps you prepare before the inspector arrives.
For commercial new construction projects, the inspection requirements are more extensive. Commercial water heating systems often require licensed mechanical contractors and additional plan review steps beyond what residential projects require.
6. What are the garage installation rules for gas water heaters?
Garage gas water heaters must be elevated at least 18 inches above the floor to keep the ignition source above gasoline vapor accumulation zones. Gasoline vapors are heavier than air and settle at floor level. A water heater pilot light or burner at floor level creates an ignition hazard that the 18-inch elevation rule directly addresses.
The platform carrying the unit must be structurally rated. Garage gas water heater platforms must support 450–500 lbs to meet ignition source clearance requirements. A wood shelf built from standard framing lumber is not sufficient unless it is engineered and anchored to the wall structure.
Garage installations also require protection from vehicle impact. A water heater placed in a garage without a physical barrier risks being struck by a car. Most codes require a bollard or concrete curb in front of the unit when it sits in a vehicle traffic path.
The 18-inch elevation rule applies regardless of the appliance’s BTU rating. Even a small, low-output gas water heater in a garage must meet this requirement. There are no size-based exemptions.
Key Takeaways
Proper water heater placement in new construction requires clearance compliance, conditioned space installation, and code-approved drainage to protect safety, efficiency, and long-term performance.
| Point | Details |
|---|---|
| Clearance minimums are non-negotiable | Maintain 18 inches front, 6 inches sides and rear, and aim for 24 inches at the control panel. |
| Conditioned spaces extend equipment life | Interior, insulated locations reduce heat loss, freeze risk, and thermal stress on the tank. |
| Drain pans must be code-compliant | Use a pan at least 1.5 inches deep, wider than the heater, and piped to a gravity-fed drain. |
| Proximity to fixtures saves energy | Place the unit near the bathroom and kitchen cluster to cut delivery time and water waste. |
| Permits and inspections are required | File for a permit before installation and pass all five standard inspection checkpoints. |
What I’ve learned from watching builders get placement wrong
Every placement mistake I’ve seen in new construction shares one root cause: the water heater location was decided last, after every other system was already roughed in. The HVAC contractor claimed the utility room. The electrical panel took the wall with the best access. The water heater ended up in a corner of the garage, 40 feet from the master bath, with a drain pan that discharged nowhere useful.
The builders who get this right treat the water heater as a primary system, not an afterthought. They decide the location during the design phase, coordinate with the plumber before framing, and size the utility space to meet clearance requirements with room to spare. That sequence costs nothing extra. Reversing it after drywall is up costs thousands.
I also think the industry underestimates how much placement affects the homeowner’s daily experience. A water heater buried in a tight garage corner means a 45-second wait for hot water at the kitchen sink every morning. A unit in a conditioned interior closet near the plumbing core means hot water in under 10 seconds. That difference is invisible on a blueprint and very visible in daily life.
My honest recommendation: if your floor plan does not have a natural interior location near the fixture cluster, budget for a recirculation pump from the start. It is far cheaper to plan for it than to retrofit it after the homeowner complains about cold water waits. And always, always work with a licensed plumber during the design phase. The preventive plumbing measures you take at the planning stage are worth ten times what you spend fixing problems after move-in.
— Serghei
Psvplumbinginc is ready to help with your new construction installation
Planning a new construction project means making dozens of decisions before the first nail goes in. Water heater placement is one of the few decisions that affects safety, energy costs, and daily comfort for the life of the home.

Psvplumbinginc provides licensed, insured water heater installation services for residential and commercial new construction projects. We handle permit filing, code compliance review, drainage design, and final inspection coordination from start to finish. Our team follows 2026 IRC and NFPA 54 standards on every job. Start with our water heater maintenance guide to understand what your new unit will need after installation, then contact us for a free placement consultation tailored to your floor plan.
FAQ
What is the minimum clearance for a new construction water heater?
The minimum clearance is 18 inches in front of the unit and 6 inches on the sides and rear. Aiming for 24 inches in front of the control panel improves service access beyond the code minimum.
Where is the best place to put a water heater in a new home?
The best location is a conditioned interior space near the primary bathroom and kitchen plumbing wall. This placement reduces heat loss, cuts hot water delivery time, and protects the unit from freezing.
Do I need a permit to install a water heater in new construction?
Yes. Most jurisdictions require a plumbing or mechanical permit and a formal inspection covering the T&P valve, venting, drainage, and seismic strapping before the installation is approved.
Why must garage gas water heaters be elevated 18 inches?
Gasoline vapors are heavier than air and accumulate at floor level. Elevating the unit 18 inches keeps the ignition source above the vapor zone, eliminating a direct fire and explosion hazard.
How deep must a water heater drain pan be?
Drain pans must be at least 1.5 inches deep and wider than the heater’s footprint. The pan must drain by gravity to a floor drain or exterior discharge point to prevent hidden water damage.
Leave a Reply