TL;DR:
- Plumbing rough-in involves installing hidden pipes, vents, and stub-outs before walls are closed, ensuring a functional home infrastructure. Proper execution and inspection prevent costly repairs and ensure compliance with codes, ultimately protecting your investment. Understanding these processes empowers homeowners and property managers to oversee projects effectively and avoid common mistakes.
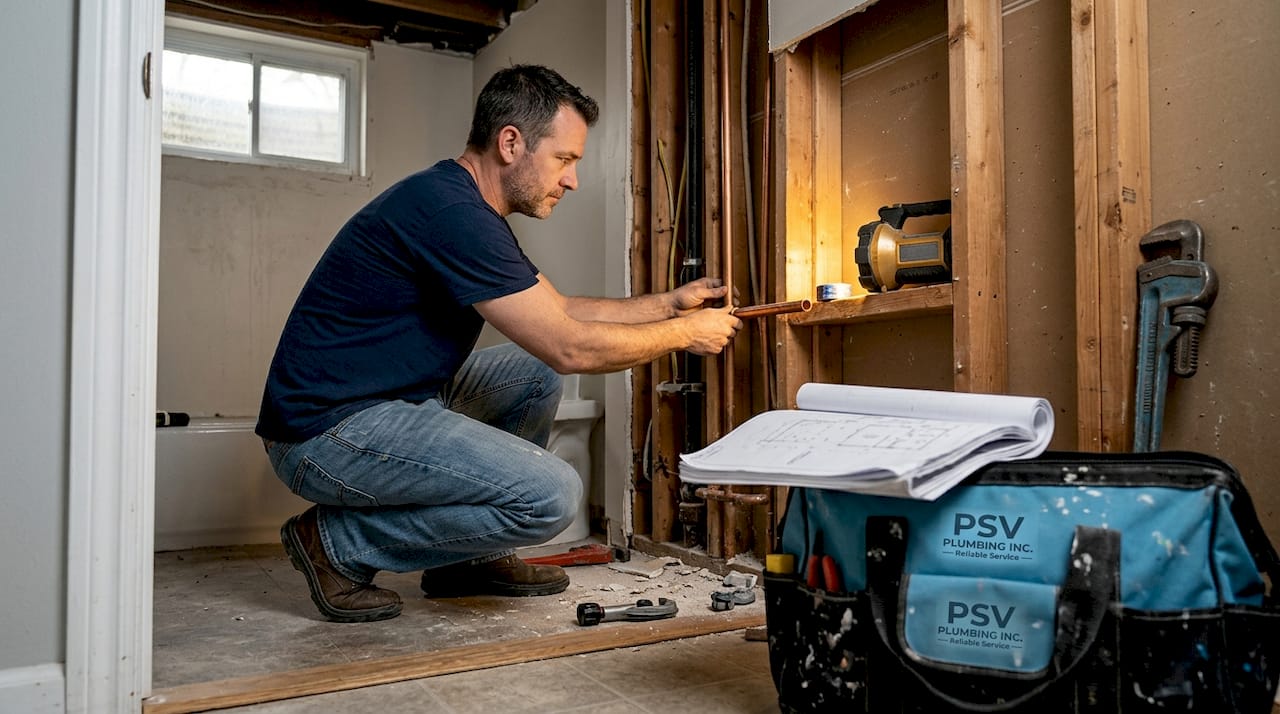
Most people picture plumbing as the shiny fixtures they interact with every day. Faucets, toilets, showerheads. But what is plumbing rough-in? It is the hidden work that happens before any of those fixtures ever get installed, and it is far more important than the parts you can see. Rough-in plumbing is the stage where pipes are routed through walls and floors while the structure is still open. Get it right, and your home functions flawlessly for decades. Get it wrong, and you are looking at opened walls, failed inspections, and serious repair bills. This guide covers everything you need to know.
Table of Contents
- What is plumbing rough-in and why does it matter?
- The rough-in plumbing process: phases and key tasks
- Inspection and testing during rough-in: ensuring safety and compliance
- Common rough-in plumbing mistakes and how to avoid them
- How understanding plumbing rough-in benefits homeowners and property managers
- Why rough-in plumbing knowledge is your best defense against costly surprises
- How our expert plumbing services ensure perfect rough-in for your project
- Frequently asked questions
Key Takeaways
| Point | Details |
|---|---|
| Definition of rough-in | Rough-in plumbing installs the hidden supply, drain, and vent pipes before walls and floors are finished. |
| Inspection importance | Passing rough-in inspections before concealment prevents costly repairs and ensures code compliance. |
| Common mistakes | Incorrect pipe slope, venting, and location during rough-in often cause future plumbing problems. |
| Timing in construction | Rough-in occurs after framing and before drywall, insulation, or flooring are installed. |
| Benefit to homeowners | Understanding rough-in helps you oversee projects, communicate with contractors, and avoid surprises. |
What is plumbing rough-in and why does it matter?
Rough-in plumbing is the installation of all hidden pipes and vents inside walls, floors, and ceilings before finishing surfaces are applied. It happens after the framing is complete but before drywall, insulation, or flooring goes in. This is the phase where your home’s entire water supply and drainage infrastructure takes shape.
Understanding residential plumbing basics helps you appreciate exactly what rough-in covers. As a standard, rough-in plumbing includes supply lines, drain-waste-vent piping, vent stacks, and fixture stub-outs installed before walls or floors are closed, and it does not include finished fixtures. That last point matters. When rough-in is done, your home will not have a working sink or toilet yet. It will have the pipes that will eventually connect to them.
Here is a quick breakdown of what rough-in plumbing includes and excludes:
- Supply lines: Cold and hot water pipes routed from the main service to each fixture location
- Drain-waste-vent (DWV) pipes: Larger pipes that carry wastewater and sewage away from fixtures
- Vent stacks: Vertical pipes that allow sewer gases to escape through the roof and maintain proper air pressure in drains
- Stub-outs: Capped pipe ends left accessible at each fixture location for future connection
- Not included: Sinks, faucets, toilets, tubs, or any visible fixture installation
The importance of plumbing rough-in cannot be overstated. Every plumbing decision you make later, from the placement of a bathroom vanity to the height of a toilet, depends on where those stub-outs are located. Moving them after walls close is extremely costly.
The rough-in plumbing process: phases and key tasks
The plumbing rough-in process follows a clear sequence that coordinates tightly with the construction schedule. Knowing these steps helps you understand what your plumber is doing and why each task matters.
Here is how the typical rough-in process unfolds:
- Review plans and layout: Your plumber studies the architectural drawings to identify every fixture location and map the pipe routes.
- Drill and notch framing: Holes and notches are cut through studs and floor joists to run pipes without weakening the structure.
- Install DWV system first: Drain, waste, and vent pipes go in before supply lines because they are larger and require more space and specific slope.
- Route supply lines: Hot and cold water supply pipes are run from the main service line to each fixture location.
- Install vent stacks: Vent pipes are connected and run vertically to exit through the roof.
- Cap all stub-outs: Open pipe ends are capped or plugged to prepare for pressure testing and to keep debris out.
- Coordinate with other trades: Electricians and HVAC contractors work in the same wall cavities, so your plumber must communicate to avoid conflicts.
- Schedule rough-in inspection: Before any walls close, an inspector must review and approve the work.
As noted in plumbing installation steps, rough-in includes drilling studs, installing DWV piping, supply lines, vent stacks, and stub-outs, and it happens after framing but before drywall or insulation. Timing is everything here.
Pro Tip: Drain pipes must slope downward at a rate of 1/4 inch per foot toward the main drain. Too little slope and waste sits in the pipe. Too much slope and liquids outrun solids, leaving debris behind. Either way, you get clogs.

The table below shows common rough-in plumbing dimensions that apply to standard bathroom fixtures. These rough-in plumbing dimensions guide exact stub-out placement so fixtures fit correctly.
| Fixture | Drain rough-in height | Supply line height | Standard rough-in depth |
|---|---|---|---|
| Toilet | Floor level (flange) | 8 in. above floor | 12 in. from wall |
| Bathroom sink | 18 to 20 in. above floor | 20 to 22 in. above floor | Centered on drain |
| Shower | Floor level (drain) | 80 in. above floor | Varies by design |
| Bathtub | Floor level (drain) | 26 to 28 in. above floor | Per tub specs |
| Kitchen sink | 16 to 20 in. above floor | 20 to 22 in. above floor | Centered on drain |
These rough-in plumbing guidelines exist because fixture manufacturers design their products around standard measurements. Order a new toilet and the box will list its rough-in dimension. If your stub-out does not match, the toilet will not fit against the wall correctly.
Inspection and testing during rough-in: ensuring safety and compliance
Understanding rough-in tasks is crucial, but inspections are what ensure your plumbing is safe and up to code before walls close. This is a mandatory hold point in construction, and skipping it is never worth the risk.
Every jurisdiction requires a rough-in plumbing inspection before walls or floors are closed. Your plumber must pressure-test supply lines and verify DWV piping before walls close. The inspector must witness or verify those test results. This typically involves:
- Air or water pressure test on supply lines: Lines are pressurized to a set level and held for a period of time. Any drop in pressure signals a leak.
- Water or air test on DWV system: Drain pipes are tested to confirm joints are sealed and pipes are properly sloped.
- Visual inspection of pipe routing: The inspector confirms pipe materials, support spacing, and clearances meet local code.
- Verification of vent connections: Vent stacks must be correctly connected to prevent sewer gas from entering living spaces.
As explained in our plumbing inspection guide, the rough-in inspection confirms that concealed piping is accessible and compliant before it is covered. Failure at this stage means expensive rework.
“Covering plumbing before a rough-in inspection passes is one of the most expensive mistakes in construction. You will pay twice: once to open the wall, and again to fix what should have been caught the first time.”
Pro Tip: Take detailed photos of all pipe locations before drywall goes up. These photos serve as a map for future repairs or renovations and can save your contractor significant time and guesswork years down the road.
Common rough-in plumbing mistakes and how to avoid them

With inspections ensuring code compliance, let’s look at what can go wrong during rough-in and how you can avoid these common pitfalls.
Rough-in mistakes are costly because correcting them after walls close requires opening finished drywall or ceilings. Proper placement, slope, and venting are critical to long-term pipe function. Here are the mistakes we see most often:
- Incorrect stub-out locations: A toilet stub-out placed even two inches off from the plan means the toilet either gaps from the wall or cannot connect at all. Always verify measurements against the fixture’s listed rough-in dimension before framing inspection closes.
- Drilling outside structural limits: Notches and holes in studs and joists must stay within code-defined zones. Drilling too close to the edge or too large weakens the framing and can require structural repairs before the project moves forward.
- Improper drain slope: As mentioned, drain pipes need exactly 1/4 inch of drop per foot. This is not optional. Improper venting and pipe slope cause slow drains, backups, and odors that can require wall opening for repairs. It is a problem that compounds over time.
- Insufficient venting: Every fixture needs to be properly vented. Without adequate venting, negative pressure builds in the drain lines and siphons water out of P-traps. When that happens, sewer gases enter the home and the smell becomes unmistakable.
- Using the wrong pipe materials: Some jurisdictions restrict or require specific materials for supply lines and DWV systems. Using the wrong material fails inspection and requires replacement before walls close.
Pro Tip: When reviewing your contractor’s rough-in work, look for pipes that are level, consistently sloped, and firmly secured with hangers or straps. Pipes that bounce or sag when pressed are not adequately supported and will move over time, stressing joints and causing leaks.
Check out our article on avoiding renovation plumbing mistakes for a deeper look at how to protect your investment during any plumbing project.
How understanding plumbing rough-in benefits homeowners and property managers
Knowing the common mistakes is helpful, but let’s be direct about why this knowledge is valuable to you as a homeowner or property manager.
You do not need to know how to install pipes yourself. But you do need to know enough to protect your investment and communicate clearly with the people doing the work. A basic plumbing rough-in checklist understanding gives you the tools to do that confidently.
Here is what that knowledge lets you do:
- Request inspections at the right time: You have the right and the responsibility to confirm that rough-in inspection has been scheduled and passed before drywall goes in. Do not assume your contractor has done this automatically.
- Ask informed questions: When a contractor says the stub-outs are in place, you can ask where they are located, what they are made of, and whether the slope has been verified. These are not aggressive questions. They are reasonable ones.
- Catch warning signs early: If you visit the job site and see unsupported pipes, missing vent connections, or stub-outs that do not match your fixture plans, you can raise the issue while the wall is still open.
- Plan for future upgrades: If you know where pipes run, you can plan future bathroom additions, fixture upgrades, or basement finishing projects without expensive surprises.
As verified by industry sources, the rough-in inspection verifies that the concealed pipe layout matches plans and code, protecting homeowners from hidden failures and costly repairs later.
“The best time to ensure your plumbing is done right is before the walls close. After that point, every fix gets significantly more expensive.”
Our plumbing maintenance checklist can help you stay on top of your home’s plumbing health long after rough-in is complete.
Why rough-in plumbing knowledge is your best defense against costly surprises
Here is an honest perspective that most plumbing guides skip over entirely. Homeowners and property managers are usually told to “trust the professionals” and leave the technical details to the contractors. That advice is not wrong, but it is incomplete.
Most hidden plumbing problems we encounter during renovations trace back to rough-in work done years or decades earlier. Wrong slope, missing vents, pipes placed without planning for access. These are not random failures. They are the predictable result of work that was never questioned, inspected carefully, or documented.
The uncomfortable truth is this: rough-in mistakes are the most expensive to fix because correcting them after walls close requires demolition and adds major cost and delays. But most of those mistakes could have been prevented if the homeowner had simply been present, asked questions, and confirmed the inspection was complete before the drywall crew arrived.
We have seen experienced property managers significantly reduce their renovation costs just by learning when to request a hold and ask to see test results. You do not need to read a pipe schematic. You need to know that a pressure test should happen before walls close, that stub-outs have specific required dimensions, and that venting is not optional. That basic awareness puts you in a position to protect your own project.
The plumbers who take pride in their rough-in work welcome informed clients. They know that proper venting and correct slope at this stage prevent years of service calls. When you ask smart questions about plumbing mistakes in renovations, a good contractor will appreciate the attention. The ones who do not are telling you something important about the quality of their work.
How our expert plumbing services ensure perfect rough-in for your project
If you want peace of mind and expert support through rough-in and beyond, here is how our team can help bring your project to success.
At PSV Plumbing Inc, our licensed plumbers in renovations and new construction projects handle rough-in installations built to local code from day one. We coordinate directly with builders, framers, and inspectors to keep your timeline moving and avoid the costly rework that comes from rushed or unsupervised rough-in work.

Our services cover the full rough-in plumbing process: supply line routing, DWV system installation, vent stack placement, pressure testing, and final stub-out prep for fixture connections. We also provide detailed documentation so you have a complete record of what is inside your walls. From your first call to final inspection, we keep you informed and your project on track. Use our plumbing maintenance checklist as a starting point, then reach out to our local plumbing experts for a free quote tailored to your project.
Frequently asked questions
What exactly does plumbing rough-in include?
Plumbing rough-in includes installing all hidden supply lines, drain-waste-vent pipes, vent stacks, and capped stub-outs before drywall or flooring is installed. It does not include the installation of any visible fixtures.
Why is a rough-in inspection necessary before drywall?
The rough-in inspection ensures all hidden plumbing is correctly installed, tested, and code-compliant before walls are closed. Skipping it means concealed piping issues go undetected until they cause much more expensive failures later.
Can I cover plumbing before inspection if I think it looks right?
No. Covering plumbing before the rough-in inspection passes is a code violation. The penalty typically requires opening the finished surface for inspection at the contractor’s expense, adding cost and delays to your project.
What happens if rough-in plumbing is done incorrectly?
Incorrect rough-in causes slow drains, leaks, odors, and significant repair costs. Poor slope or vent placement leads to recurring backups and siphoning problems that require reopening walls to fix properly.
How long does the rough-in plumbing phase usually take?
A standard bathroom rough-in typically takes 3 to 5 days depending on project scope and inspection scheduling. Larger projects or inspection delays can extend that timeframe.
Leave a Reply