TL;DR:
- Early detection of leaks in toilets, faucets, and appliances can save money and prevent damage.
- Most household leaks are caused by worn flapper valves, washers, gaskets, or loose connections.
- DIY fixes for common leaks, like replacing flappers or O-rings, are simple, inexpensive, and effective.
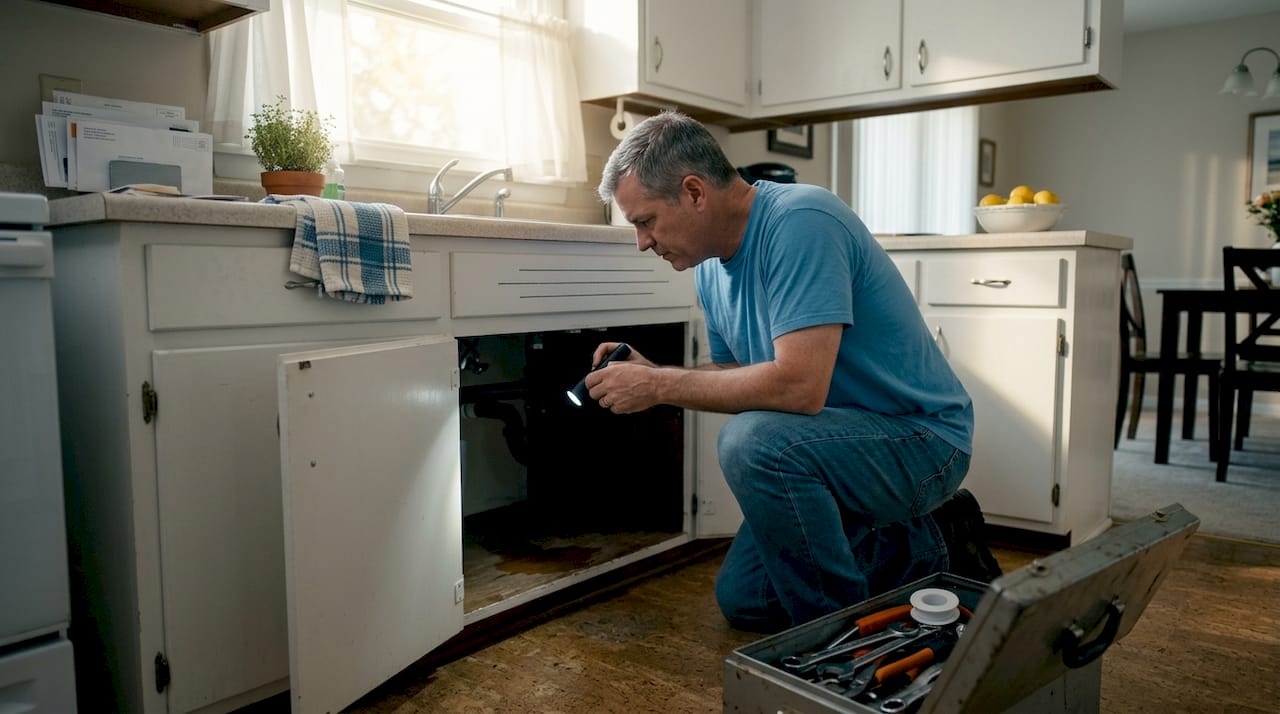
A slow drip under the sink or a toilet that keeps running might seem minor, but these small issues quietly inflate your water bill and can lead to serious water damage over time. Many homeowners and property managers assume plumbing repairs require expensive service calls, but the truth is that the most common problems have straightforward, low-cost fixes. We put together this guide to walk you through exactly what causes everyday leaks, how to find them fast, and how to repair them yourself or know when to call in a licensed plumber.
Table of Contents
- Evaluating plumbing problems: Where do leaks start?
- Toilet leaks: Easy fixes you can do yourself
- Faucet leaks: Stop drips before they drain your wallet
- Appliance leaks: Prevention and quick fixes
- Comparing common repairs: Time, cost, and complexity
- Expert insight: Focusing on the fundamentals saves money
- Need help or supplies? Turn to local pros and guides
- Frequently asked questions
Key Takeaways
| Point | Details |
|---|---|
| Identify leak sources | Most leaks start at toilets, faucets, or appliances where parts wear out. |
| DIY repairs are affordable | Replacing flappers, washers, or hoses solves the majority of issues at low cost. |
| Simple tests prevent waste | Easy diagnostics like food coloring in the toilet tank confirm hidden leaks. |
| Prevent damage early | Routine checks and quick fixes stop leaks from causing bigger, expensive problems. |
| Know when to call a pro | For complex repairs, professional plumbers are essential for safety and compliance. |
Evaluating plumbing problems: Where do leaks start?
Finding a leak early is the single most effective way to keep repair costs low. The challenge is that leaks often start small and stay hidden until they cause noticeable damage. Knowing where to look puts you ahead of the problem.
The three biggest sources of household leaks are toilets, faucets, and appliances. Each of these has specific components that wear out over time. According to the Cleveland Water Department, worn flapper valves, washers, gaskets, and loose hose connections are the most common culprits behind household water waste. Understanding these failure points means you can inspect them regularly and catch problems before they escalate.
To make inspections easier, start by reviewing a solid plumbing maintenance checklist that covers all major systems in your home or building. A quarterly walkthrough takes less than an hour and can save you hundreds of dollars.
Common trouble spots to check regularly:
- Toilet tank components (flapper valve, fill valve, overflow tube)
- Faucet handles and spouts (washers, O-rings, valve seats)
- Dishwasher door gaskets and water supply hoses
- Washing machine inlet and drain hoses
- Water heater pressure relief valves and connections
- Under-sink supply lines and drain fittings
- Outdoor hose bibs and irrigation connections
Statistic callout: The EPA estimates that household leaks waste nearly 1 trillion gallons of water nationwide each year. A single running toilet can waste up to 200 gallons per day, which adds up to thousands of gallons monthly before most homeowners even notice.
The key is not waiting for a visible puddle to act. Signs like a higher-than-usual water bill, the sound of running water when everything is off, or slight moisture staining on walls or ceilings are all signals worth investigating immediately.
Toilet leaks: Easy fixes you can do yourself
Toilets are the top source of water waste in most homes, and the good news is that most toilet leaks are caused by one small, inexpensive part: the flapper valve. A worn flapper valve allows water to continuously seep from the tank into the bowl, causing the fill valve to run constantly to compensate.
Before you start any repair, it helps to know exactly where the leak is coming from. Here is a simple process to diagnose and fix the most common toilet problems:
- Run the food coloring test. Add several drops of dark food coloring into the toilet tank. Wait 15 minutes without flushing. If color appears in the bowl, you have a confirmed tank-to-bowl leak, almost always the flapper.
- Turn off the water supply. The shut-off valve sits behind or below the toilet. Turn it clockwise to stop water flow.
- Flush to drain the tank. This clears the water so you can access internal components.
- Remove the old flapper. Unhook the ears from the overflow tube pins and detach the chain from the flush handle arm.
- Match the replacement part. Bring the old flapper to the hardware store or look up the toilet model number for an exact match.
- Install the new flapper. Clip it onto the overflow tube pins, reattach the chain with about half an inch of slack, and turn the water supply back on.
- Test again. Flush several times and re-run the food coloring test to confirm the leak is sealed.
Pro Tip: Flappers cost between $5 and $15 at most hardware stores. Replacing one takes under 20 minutes and requires no special tools. This single repair can eliminate hundreds of gallons of daily water waste.
For a broader look at toilet and bathroom plumbing health, our bathroom inspection tips cover additional checkpoints that go beyond the flapper and help you catch hidden problems early.
Toilet leak diagnosis comparison:
| Symptom | Likely cause | Fix |
|---|---|---|
| Water sounds after flushing stops | Worn flapper valve | Replace flapper |
| Water runs continuously | Float set too high or fill valve worn | Adjust or replace fill valve |
| Water pooling at base | Wax ring failure | Replace wax ring (pro recommended) |
| Tank fills slowly | Clogged or worn fill valve | Clean or replace fill valve |
| Silent but visible bowl movement | Cracked flapper or seat | Replace flapper |
Faucet leaks: Stop drips before they drain your wallet
After toilets, faucets are the next biggest source of household water waste. A faucet dripping once per second wastes roughly 3,000 gallons per year. That is the equivalent of more than 180 showers. Most drips are caused by internal wear that is easy and inexpensive to address.
Common faucet leak sources include worn washers or gaskets, a loose or cracked O-ring, and a corroded valve seat inside the faucet body. Ball-type, cartridge, and compression faucets each have slightly different internal components, but the repair approach is similar across all of them.
How to fix a dripping faucet step by step:
- Turn off the water supply valves under the sink before touching anything
- Remove the faucet handle by unscrewing the decorative cap and handle screw
- Use a wrench to remove the packing nut and pull out the stem or cartridge
- Inspect the washer at the bottom of the stem and the O-ring along the stem body
- Replace any parts that show cracking, flattening, or deterioration
- Coat new O-rings lightly with plumber’s grease before installation
- Reassemble in reverse order and turn the water supply back on slowly
- Test by running both hot and cold water and checking for drips under the handle
Pro Tip: Repair kits for common faucet brands like Moen, Delta, and Kohler are available at hardware stores for $10 to $25. These kits include all the washers, O-rings, and seats you need, so you do not have to guess which part failed.
Faucet repair cost comparison:
| Repair type | Part cost | Average DIY time | Difficulty |
|---|---|---|---|
| Washer replacement | $2 to $5 | 15 to 30 minutes | Easy |
| O-ring replacement | $3 to $8 | 20 to 30 minutes | Easy |
| Cartridge replacement | $10 to $30 | 30 to 45 minutes | Moderate |
| Valve seat replacement | $5 to $15 | 30 to 60 minutes | Moderate |
| Full faucet replacement | $50 to $250+ | 1 to 2 hours | Moderate |
If you are considering upgrading your fixtures while you have everything apart, our plumbing upgrades guide outlines water-efficient options that reduce usage and add long-term value to your property.
Appliance leaks: Prevention and quick fixes
Appliances like dishwashers, washing machines, and refrigerators with ice makers are often overlooked during routine plumbing checks. Yet damaged or cracked hoses and connections on these appliances are a frequent cause of serious water damage, especially in finished basements and first-floor laundry rooms where leaks can go undetected for days.

The most important preventive measure is hose inspection. Most washing machine supply hoses are rubber and begin to degrade after five to seven years. Braided stainless steel hoses last much longer and are well worth the upgrade.
Step-by-step appliance hose inspection process:
- Pull the appliance away from the wall slightly to access rear connections.
- Inspect each hose end for corrosion, mineral buildup, or wet staining around the fitting.
- Squeeze rubber hoses along their full length to check for brittleness, bulging, or cracks.
- Check that all hose connections are hand-tight and that rubber washers inside the fittings are intact.
- For dishwashers, check the door gasket for tears or hardening that allows water to escape during a cycle.
- Run the appliance through a short cycle and watch the connections and floor underneath for any moisture.
Key appliance leak prevention habits:
- Replace rubber washing machine hoses every five years regardless of visible condition
- Install a water alarm sensor (available for under $15) near appliances to detect moisture early
- Never leave the home during a washing machine cycle if hoses are aging
- Clean your dishwasher filter monthly to prevent pressure buildup that stresses door seals
- Check refrigerator ice maker lines annually for kinks or cracking
Statistic callout: Washing machine hose failures are one of the top ten causes of homeowner insurance claims, with average losses exceeding $5,000 per incident. A $20 hose replacement is a fraction of that risk.
For appliances connected to your hot water system, our water heater maintenance tips cover how to protect supply lines and anode rods to extend your water heater’s service life.
Comparing common repairs: Time, cost, and complexity
One of the most practical questions homeowners ask is, “Should I handle this myself or call a plumber?” The answer depends on the type of repair, the tools required, and your comfort level. Most basic leak repairs fall well within the DIY range.
Replacing flappers, washers, and O-rings is consistently the actual solution for the most common household leaks, rather than a temporary workaround. These fixes address the root cause rather than masking the symptom.
| Repair | Part cost | Time needed | Skill level | DIY or pro? |
|---|---|---|---|---|
| Toilet flapper replacement | $5 to $15 | 15 to 20 min | Beginner | DIY |
| Faucet washer/O-ring | $3 to $10 | 20 to 30 min | Beginner | DIY |
| Fill valve replacement | $10 to $20 | 30 to 45 min | Beginner | DIY |
| Faucet cartridge | $15 to $35 | 30 to 45 min | Moderate | DIY |
| Washing machine hose | $15 to $40 | 20 to 30 min | Beginner | DIY |
| Wax ring replacement | $10 to $25 | 1 to 2 hours | Moderate | DIY or Pro |
| Supply line replacement | $10 to $30 | 20 to 30 min | Beginner | DIY |
| Pipe repair or joint leak | Varies | Varies | Advanced | Pro |
When repairs move beyond fixtures and into supply pipes, drain lines, or anything involving your main shutoff, sewer line, or gas connections, that is the time to call a licensed plumber. Our plumbing installation guide explains what code-compliant work looks like for larger projects, and our plumbing inspection guide helps you understand when a formal inspection is the right next step.
Expert insight: Focusing on the fundamentals saves money
Here is something we see regularly in the field: homeowners spend money on multiple service calls without ever resolving a recurring leak because the original diagnosis was wrong. Someone replaces a toilet, for example, when a simple flapper valve replacement would have fixed the problem entirely. Or a faucet gets replaced when a $5 washer was all it needed.
The root cause is almost always a small, worn part. That is why simple diagnostic steps matter so much. Adding food coloring to the tank to confirm a tank-to-bowl leak before buying anything is a perfect example of a two-minute test that saves a lot of guesswork and expense. Most homeowners skip these steps because they feel too simple. They are not. They are the foundation of good plumbing practice.
We have also noticed that people tend to patch visible problems without asking why the problem appeared. A slow drain gets cleared with a chemical solution repeatedly, but the real issue might be a partial pipe obstruction or poor pipe slope that only a camera inspection reveals. Addressing root causes instead of symptoms is what produces lasting results.
Understanding what defines quality plumbing standards helps you set the right expectations for any repair, whether you handle it yourself or bring in a professional. Quality work means the problem does not come back.
Our honest advice: start with the simplest, least expensive diagnostic test before spending anything. Most of the time, you will find the solution is right there in front of you.
Need help or supplies? Turn to local pros and guides
Knowing how to identify and fix common plumbing problems is a real asset for any homeowner or property manager. But sometimes a repair goes beyond basic tools, or you simply want the confidence that comes with professional backup.

We at PSV Plumbing Inc are here to help at every stage. If you want to stay ahead of problems, start with our detailed maintenance checklist that walks you through seasonal and annual inspections for your entire plumbing system. For anything involving water heaters, our water heater maintenance guide covers the steps that extend equipment life and prevent emergency failures. And when a repair is beyond a DIY fix, our local plumbing experts are licensed, insured, and ready to handle everything from minor repairs to full system upgrades with transparent pricing and reliable workmanship. Let’s work together to keep your plumbing running the way it should.
Frequently asked questions
What are the most common causes of household water leaks?
The most frequent causes are worn flapper valves, washers, and gaskets in toilets and faucets, and cracked or loose hose connections on appliances like washing machines and dishwashers.
How can I quickly check if my toilet is leaking?
Add food coloring to the tank and wait 15 minutes without flushing; if color appears in the bowl, the tank is leaking and the flapper likely needs replacing.
Is it worth repairing a leaky faucet myself?
Yes, most faucet leaks are resolved by replacing worn washers or O-rings, a repair that costs under $10 and takes less than 30 minutes, saving you money on both water bills and plumber fees.
What is the best way to prevent appliance leaks?
Regularly inspect hoses for cracks or wear and replace rubber hoses every five years, or upgrade to braided stainless steel hoses for greater durability and leak resistance.
When should I seek professional plumbing help?
Call a licensed plumber for any repairs involving main supply pipes, gas lines, sewer systems, or when simple part replacements do not resolve the issue after a proper diagnosis.
Leave a Reply