TL;DR:
- Effective office bathroom remodeling involves careful planning to ensure compliance, budget control, and durable design. It improves employee satisfaction and property value through strategic layout, safety features, and long-lasting materials. Regular maintenance helps sustain the renovation’s benefits and prevents costly issues over time.
Office bathroom remodeling is defined as the planned renovation of commercial restroom facilities to meet hygiene standards, accessibility codes, and employee wellness goals. A well-executed office restroom renovation delivers measurable returns. Commercial bathroom renovations typically cost between $15,000 and $50,000+, with ROI potential reaching up to 73.7%. That figure reflects how directly restroom quality affects employee satisfaction, facility compliance, and property value. This bathroom remodeling guide for offices walks you through every phase, from planning and design to material selection, execution, and long-term maintenance.
What requirements and planning steps are essential before remodeling office bathrooms?
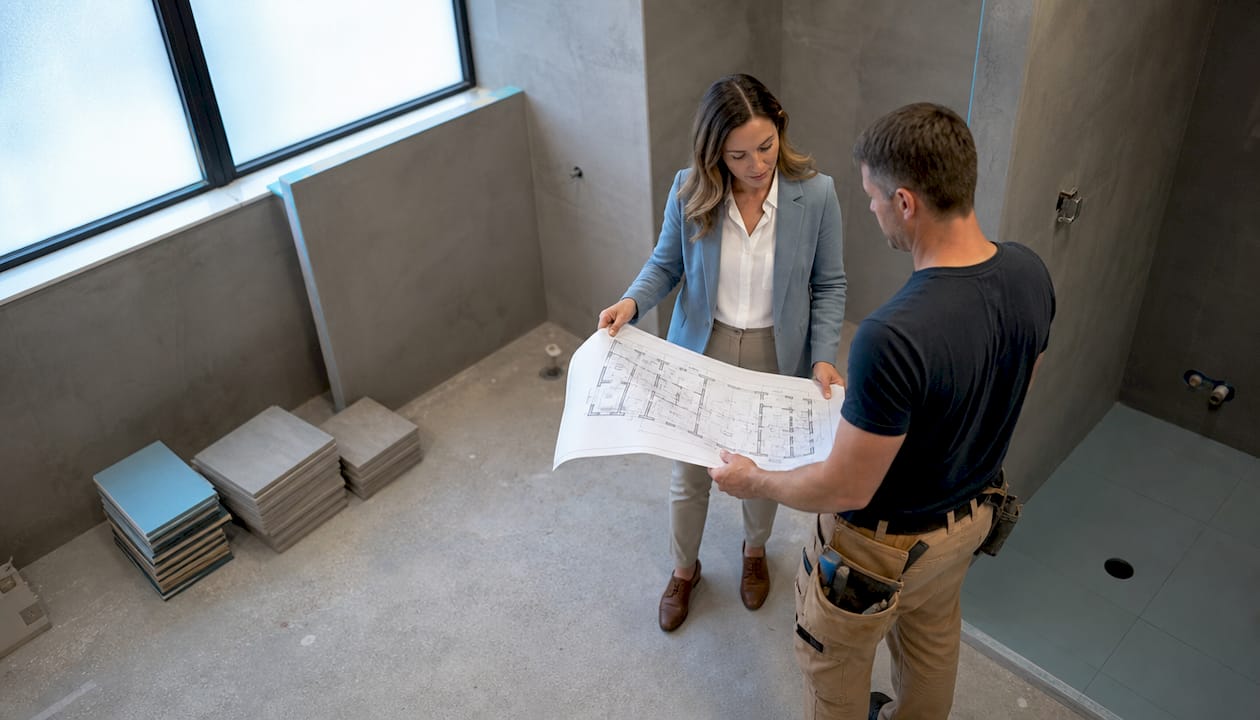
Solid planning prevents the most expensive mistakes in any commercial restroom renovation. Before a single tile is removed, you need a clear budget, a realistic timeline, and confirmed compliance with local building codes and ADA standards.
Budget and timeline expectations
Commercial renovation costs range from $15,000 to $50,000+, depending on the number of stalls, fixture quality, and structural changes required. Cosmetic upgrades, such as new fixtures and fresh finishes, can fall at the lower end. Full gut renovations with plumbing rerouting push costs toward the top. Most office bathroom projects take 2–6 weeks from demolition to completion. Cosmetic-only work can finish in under two weeks, while projects involving new plumbing rough-ins or structural wall changes take longer.
Compliance and accessibility requirements
ADA compliance is not optional. Accessibility standards require precise clearances, including 850mm of clear space beside the toilet, that must be built into the design from day one. Missing these measurements during demolition means costly corrections during final inspection. Local building codes add another layer, covering ventilation, fixture counts per occupant, and water supply requirements. Pull permits before work begins. Unpermitted work creates liability and can block future property sales or lease renewals.
Key planning steps to complete before breaking ground:
- Confirm the project scope with a licensed plumber and general contractor
- Obtain all required building permits from your local authority
- Verify ADA clearance requirements for every fixture and pathway
- Set a contingency budget of at least 15% for unforeseen structural issues
- Schedule work during low-occupancy periods to reduce business disruption
Pro Tip: Map your existing plumbing stack locations before finalizing the layout. Moving drain lines adds significant cost and time. Keeping fixtures close to existing supply and drain points is the single fastest way to control budget.
How to design office bathrooms that enhance hygiene, safety, and flow?
Layout is the most underrated decision in a commercial bathroom makeover. A poorly planned layout creates congestion, cross-traffic, and hygiene problems that no amount of premium tile can fix.

Traffic flow and layout logic

Effective layouts arrange sinks, dryers, and stalls so users move in one direction without crossing paths. This reduces water splashes near exits and cuts wait times during peak morning hours. Place hand dryers and towel dispensers between the sink zone and the exit, not beside toilet stalls. That single change reduces wet floor incidents and keeps the sink area clear.
Safety and slip resistance
Slip-resistant tiles rated R10 or R11 are legally required in high-traffic commercial wet areas. R10 handles standard wet conditions; R11 provides additional grip where water pooling is more likely, such as near urinals or open shower areas. These ratings are not aesthetic preferences. They are safety and liability requirements.
Hygiene-focused design features
Touchless fixtures reduce surface contact and lower the spread of illness in shared office spaces. Specify sensor-activated faucets, soap dispensers, and flush valves as standard. Dispenser placement must account for maintenance access, not just user convenience. Dispensers mounted too high or in tight corners create refilling delays and hygiene gaps.
Wellness and privacy considerations
Office restrooms are shifting from purely functional spaces to wellness-driven environments. Adding a small lounge area, better lighting, or a private quiet zone gives employees a genuine mental reset space. That shift matters for retention and workplace satisfaction, especially in open-plan offices where private space is scarce.
Design checklist for office bathroom makeovers:
- Arrange fixtures for single-direction traffic flow
- Specify R10 or R11 rated flooring for all wet zones
- Install touchless faucets, flush valves, and soap dispensers
- Position dispensers for easy maintenance access
- Include adequate ventilation per HVAC code requirements
- Plan privacy zones or dividers between sink and stall areas
Pro Tip: Specify matte or textured wall tiles rather than high-gloss finishes in office bathrooms. Gloss surfaces show water marks and fingerprints immediately, increasing cleaning frequency and labor costs.
Which materials and fixtures are best suited for durable, cost-effective office bathroom remodels?
Material selection determines how much you spend over the life of the bathroom, not just at installation. Choosing materials based solely on upfront cost frequently leads to expensive long-term maintenance. Inferior materials warp, degrade under industrial cleaning chemicals, and fail within a few years in high-traffic environments.
Top material categories for commercial restrooms
Porcelain tile is the standard for commercial bathroom floors and walls. It resists moisture, handles heavy foot traffic, and withstands the bleach-based cleaners used in office facilities. Vitrified porcelain with a PEI rating of 4 or 5 is the correct specification for floor applications. For partitions, commercial-grade powder-coated steel or solid phenolic panels outperform standard drywall or laminate in humid, high-use conditions. Tile selection for high-traffic areas directly affects both safety ratings and long-term maintenance costs.
Fixtures and sustainability
Water efficiency devices, including automatic urinal flushers and aerated taps, reduce utility costs and support sustainability goals. These fixtures pay back their premium cost through lower water bills within a few years. Specify fixtures with accessible internal components so maintenance staff can replace cartridges and sensors without calling a plumber for every service visit.
Material comparison by durability, cost, and maintenance
| Finish category | Durability | Upfront cost | Maintenance needs |
|---|---|---|---|
| Porcelain tile (PEI 4–5) | High | Moderate | Low; resists chemicals |
| Solid phenolic partitions | Very high | Moderate to high | Very low; moisture-proof |
| Laminate partitions | Low to moderate | Low | High; swells and warps |
| Powder-coated steel fixtures | High | Moderate | Low; easy to clean |
| Standard chrome fixtures | Moderate | Low | Moderate; shows wear faster |
Pro Tip: Request material data sheets from suppliers and confirm chemical resistance ratings before purchasing. A tile that looks commercial-grade may not be rated for the cleaning agents your facility team uses.
What are the key steps for executing the office bathroom remodel efficiently?
Execution is where planning either pays off or falls apart. A clear step sequence keeps the project on schedule and reduces the risk of rework.
Step-by-step remodel sequence
- Demolition: Remove existing fixtures, partitions, and flooring. Confirm all utility shutoffs are complete before work begins. Document existing plumbing locations with photos.
- Plumbing rough-in: Relocate or extend supply and drain lines as required by the new layout. This is the phase where licensed plumbers prevent the most costly mistakes. Rough-in inspections must pass before walls close.
- Framing and waterproofing: Build new partition walls and apply waterproof membrane to all wet areas. Skipping membrane application is a leading cause of mold problems within two years of completion.
- Tile and flooring installation: Set floor tile before wall tile. Confirm R10 or R11 slip resistance ratings match specifications. Allow full cure time before foot traffic.
- Fixture installation: Mount toilets, urinals, sinks, and partitions per plumbing installation standards. Confirm ADA clearances at every fixture before finishing.
- Finishing and inspection: Install accessories, lighting, and signage. Schedule final inspection with your local building authority before reopening.
Common mistakes to avoid during execution:
- Skipping the rough-in inspection before closing walls
- Ignoring HVAC capacity for multi-stall bathrooms, which causes persistent mold and odor issues
- Rushing tile cure times to meet schedule pressure
- Failing to test all touchless fixtures before final sign-off
- Not coordinating plumbing and electrical trades to avoid rework conflicts
Phased execution works well in larger office buildings. Complete one restroom at a time while keeping others operational. This approach adds a few days to the overall schedule but eliminates the disruption of a full facility shutdown.
How to maintain and manage office bathrooms post-remodel for longevity?
A remodeled bathroom stays in good condition only with a structured maintenance program. High-traffic commercial restrooms need more than daily cleaning. They need scheduled inspections and proactive repairs.
Post-remodel maintenance best practices:
- Inspect all plumbing fixtures monthly for leaks, slow drains, and sensor malfunctions. Regular plumbing inspections catch small problems before they become expensive failures.
- Train cleaning staff on the correct products for each surface. Abrasive cleaners damage porcelain grout and sensor housings. Use pH-neutral cleaners on tile and manufacturer-approved products on fixtures.
- Check grout and caulk lines quarterly. Cracked grout allows water to penetrate behind tiles, leading to subfloor damage that costs far more to repair than a simple regrout.
- Test touchless fixture sensors every two weeks. A sensor that fails to activate pushes users to touch surfaces, defeating the hygiene purpose of the upgrade.
- Service water-saving devices such as automatic flushers and aerated taps annually to maintain efficiency ratings.
- Keep an access panel or service door near major plumbing connections. Designing for serviceability during the remodel prevents invasive wall demolition for future repairs.
Sustainability extends maintenance value. Eco-friendly consumables, including recycled paper products and concentrated cleaning solutions, reduce waste and lower supply costs over time. Schedule a full plumbing review every two years with a licensed commercial plumber to assess pipe condition, water pressure, and fixture performance.
Key Takeaways
A successful office bathroom remodel requires compliance-first planning, durable material selection, and a structured maintenance program to deliver lasting value and employee satisfaction.
| Point | Details |
|---|---|
| Plan before demolition | Confirm ADA clearances, permits, and plumbing locations before any work begins. |
| Budget for lifecycle cost | Choose porcelain tile and phenolic partitions over cheaper materials that fail under heavy use. |
| Design for flow and hygiene | Arrange fixtures for single-direction traffic and specify touchless fittings throughout. |
| Execute in sequence | Follow the six-step remodel order and pass rough-in inspection before closing walls. |
| Maintain proactively | Inspect fixtures monthly and service water-saving devices annually to protect your investment. |
What I’ve learned from watching office bathroom remodels go wrong
Most office bathroom remodels fail at the planning stage, not the construction stage. I’ve seen business owners approve layouts without checking ADA clearances, then pay to move walls after the final inspection flags a 30mm shortfall. That kind of rework costs more than the original compliance review would have.
The other pattern I see constantly is choosing materials on price alone. A laminate partition at half the cost of solid phenolic sounds reasonable until it swells and warps within 18 months of daily cleaning. The lifecycle math never favors the cheap option in a high-traffic commercial bathroom.
What surprises most office managers is how much the wellness angle matters. Employees notice when a restroom feels like an afterthought. A well-lit, clean, and private space signals that the organization respects the people who work there. That perception affects morale in ways that are hard to quantify but very real.
My honest recommendation: invest in a licensed commercial plumber from day one, not as an afterthought during rough-in. The plumber who reviews your layout before demolition will save you more money than any other single decision you make on this project.
— Serghei
How Psvplumbinginc supports your office bathroom remodel
Psvplumbinginc brings licensed, insured commercial plumbing expertise to every phase of an office restroom renovation, from initial layout review through final fixture installation and inspection.

We handle plumbing rough-ins, new fixture installations, drain line relocations, and system upgrades for office buildings of all sizes. Our team understands ADA compliance requirements, local building codes, and the scheduling demands of commercial facilities that cannot afford extended downtime. Whether you need a full gut renovation or targeted fixture installation support, Psvplumbinginc delivers reliable work on time and within budget. Contact us for a free quote and let’s build a restroom your team will actually appreciate.
FAQ
How much does an office bathroom remodel typically cost?
Commercial office bathroom renovations typically cost between $15,000 and $50,000+, depending on scope, fixture quality, and whether plumbing lines need relocation. ROI potential reaches up to 73.7% for well-executed projects.
How long does an office restroom renovation take?
Most office bathroom remodels take 2–6 weeks from demolition to completion. Cosmetic upgrades with no plumbing changes can finish in under two weeks.
What flooring is required for commercial office bathrooms?
Slip-resistant tiles rated R10 or R11 are required in high-traffic commercial wet areas to meet safety and legal standards. R11 provides additional grip where water pooling is more likely.
Do office bathrooms need to meet ADA standards?
Yes. ADA compliance requires precise fixture clearances, including 850mm of clear space beside the toilet, and must be confirmed during the design phase to avoid costly corrections at inspection.
How often should office bathroom plumbing be inspected after a remodel?
Inspect fixtures monthly for leaks and sensor issues, and schedule a full plumbing review with a licensed commercial plumber every two years to maintain system integrity and prevent costly damage.
Leave a Reply