TL;DR:
- A leaking pipe allows water to escape through cracks, holes, or failed seals, risking extensive damage. Properly fixing leaks involves identifying pipe material, using correct repair materials, and following a step-by-step process, with professional help needed for complex cases. Temporary repairs can buy time, but most leaks require a permanent fix by a licensed plumber to prevent further damage.
A leaking pipe is defined as any pipe that allows water to escape its intended path, whether through a pinhole, cracked joint, or failed seal. Knowing how to fix leaking pipes correctly, and quickly, is the difference between a $10 repair and a $10,000 water damage claim. Most common leaks can be addressed with tools you already own, materials from your local hardware store, and a clear process. This guide covers the right materials, step-by-step repair methods, and the specific signs that tell you to stop and call a licensed plumber.
What tools and materials do you need to fix leaking pipes?
Gathering the right supplies before you start is the single most important step in any pipe repair. The wrong sealant on the wrong pipe material will fail fast, sometimes within hours. Identifying your pipe material before buying anything is non-negotiable.
Pipe materials and why they matter
The four most common residential pipe materials are copper, PVC, PEX, and galvanized steel. Each requires compatible repair products. Copper pipes accept epoxy putty and compression fittings well. PVC pipes work best with PVC cement or push-fit couplings. PEX pipes need push-fit or crimp-style fittings, not solvent cement. Galvanized steel pipes are the trickiest because corrosion is usually widespread, and a patch on one spot often reveals another leak nearby.
Essential tools
- Adjustable wrench
- Pipe cutter or hacksaw
- Wire brush or sandpaper (for cleaning pipe surfaces)
- Bucket and towels
- Safety gloves and eye protection
- Flashlight or headlamp
Repair materials by leak type
| Leak Type | Best Repair Material | Pipe Compatibility |
|---|---|---|
| Pinhole leak | Epoxy putty or self-fusing silicone tape | Copper, PVC, PEX |
| Joint leak | PTFE tape or pipe joint compound | All threaded joints |
| Cracked section | Pipe repair clamp | Copper, galvanized steel |
| Separated joint | Push-fit coupling | Copper, PVC, PEX |
| Minor seep | Pipe repair tape (self-fusing) | Copper, PVC |
Pro Tip: Buy two sizes of pipe repair clamps before you start. Clamps that are even slightly too wide will not seal properly over a pinhole, and you will not want to make a second hardware run with water dripping.
How to fix leaking pipes step by step
The repair method depends on the leak type, but the starting steps are the same for every job. Draining the system before cutting or patching any pipe prevents unexpected flooding and gives sealants a dry surface to bond to. Dry surfaces are critical. Epoxy putty and silicone tape both fail on wet pipe walls.

Step 1: Shut off the water and drain the line
Turn off the main water supply valve. Open the lowest faucet in your home to drain remaining water from the pipes. Place a bucket under the leak before you touch anything.
Step 2: Clean and dry the pipe surface
Use a wire brush or sandpaper to remove rust, mineral deposits, or old sealant around the leak. Wipe the area dry with a clean cloth. Any moisture left on the surface will compromise adhesion.

Step 3: Choose your repair method
Temporary fixes like silicone tape and epoxy putty can stop most leaks in under 30 minutes. They are not permanent solutions. Use them to stop active water loss while you plan a proper repair.
For silicone tape (self-fusing): Stretch the tape as you wrap it tightly around the pipe, overlapping each layer by half. Cover at least 2 inches on each side of the leak. No adhesive is needed. The tape bonds to itself under tension.
For epoxy putty: Knead the two-part putty together until the color is uniform, then press it firmly over the leak. Hold it in place for the time listed on the package, usually 3–5 minutes. Do not restore water pressure until the putty has fully cured.
For a pipe repair clamp: Center the rubber gasket directly over the leak. Tighten the bolts evenly on both sides. Do not overtighten. Overtightening crushes the gasket and creates a new leak path.
For push-fit couplings (permanent fix): Cut out the damaged pipe section with a pipe cutter. Deburr the cut ends with sandpaper. Push the coupling onto each pipe end until it clicks. No tools or solvents are required for most push-fit brands.
Step 4: Apply PTFE tape to threaded joints
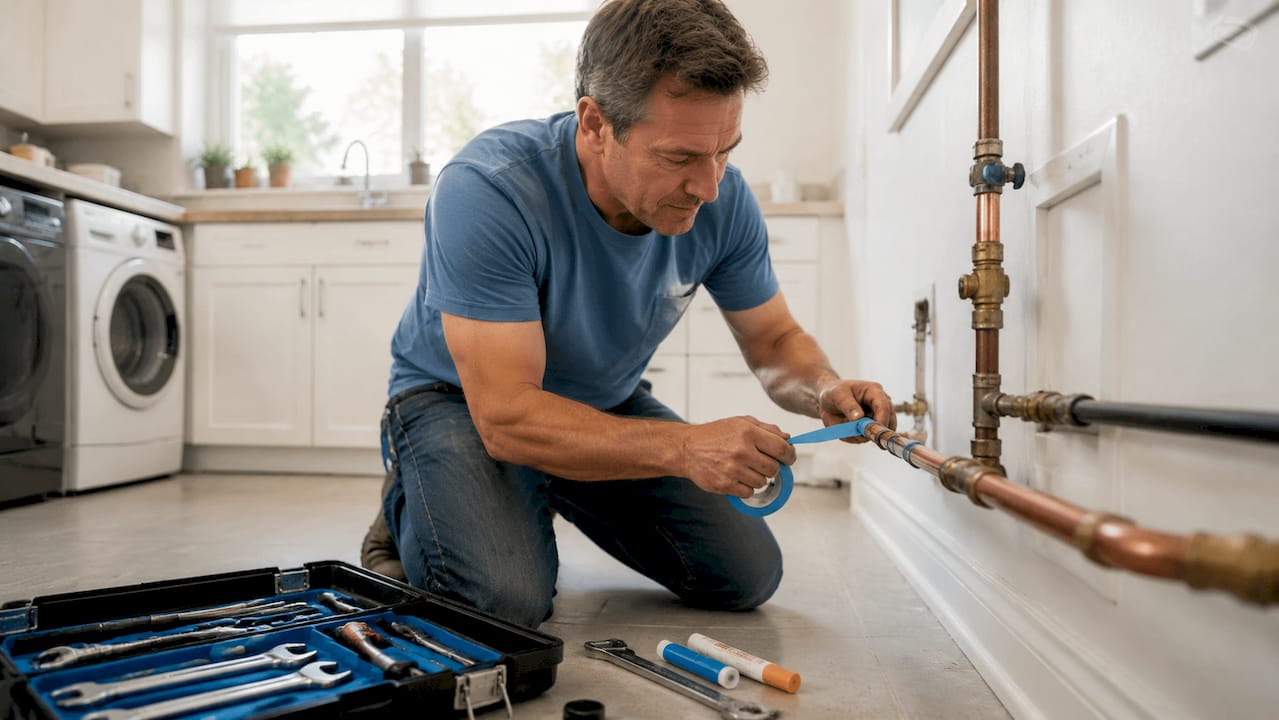
Joint leaks at threaded connections are fixed with PTFE tape, also called thread seal tape or plumber’s tape. Wrap PTFE tape 6 to 10 times in the direction of the thread. Wrapping against the thread direction causes the tape to bunch up and unravel when you tighten the fitting, which defeats the purpose entirely.
Step 5: Test the repair
Restore water pressure slowly. Watch the repair site for 5 full minutes. Check for drips, seeping, or any sign of movement in the patch. Sealants may feel set in 30 minutes, but full curing depends on temperature and humidity. Do not test under full pressure before the cure time listed on your product is complete.
Pro Tip: Mark the repair date on the pipe with a permanent marker. If you revisit the same spot six months later, you will know immediately whether the patch held or whether the pipe is deteriorating further.
When should you stop DIY and call a professional plumber?
Some leaks are beyond the scope of DIY repair, and attempting them yourself creates bigger problems. A leaking pipe left unrepaired causes mold, structural damage, and costs that dwarf the original repair bill. Knowing when to stop is as important as knowing how to start.
Call a licensed plumber immediately if any of these conditions apply:
- The leak is in a gas line. Gas pipe repairs carry legal restrictions in most states and require a licensed professional. No DIY fix is appropriate here.
- The leak is inside a wall, ceiling, or foundation. These areas require cutting into structural elements. Improper access causes more damage than the leak itself.
- You see mold, discoloration, or soft drywall near the pipe. Signs of water damage near a leak indicate the problem has been active for longer than you realize. A patch will not address the underlying damage.
- The pipe is in a high-pressure supply line. High-pressure lines require fittings and techniques that exceed standard DIY repair tools.
- A previous DIY repair has already failed. One failed patch means the pipe wall is compromised. A second patch on the same spot rarely holds.
“If you are unsure at any point, stop. The cost of a professional repair is always less than the cost of water damage to your floors, walls, or foundation.” — plumbing industry guidance, 2025
You can review the 10 signs of pipe damage that indicate a systemic issue before you decide whether to patch or call.
Common mistakes to avoid when repairing pipe leaks
Most DIY pipe repairs fail not because the method was wrong, but because of small errors in execution. These are the mistakes we see most often.
- Using duct tape or electrical tape. Neither product is waterproof under pressure. Both fail within hours on an active leak.
- Skipping surface preparation. Epoxy putty and self-fusing tape will not bond to a dirty, oily, or wet pipe surface. Clean and dry the area completely before applying any repair material.
- Overtightening fittings or clamps. Excess torque cracks PVC fittings and crushes rubber gaskets. Hand-tight plus a quarter turn is the standard for most compression fittings.
- Wrapping PTFE tape in the wrong direction. Always wrap in the direction of the thread. Wrapping backward causes the tape to unwind as you tighten the joint.
- Restoring pressure before full cure. Sealants may feel hard in 30 minutes, but full cure takes longer depending on temperature and humidity. Rushing this step is the most common cause of repeat leaks.
- Ignoring the rest of the pipe. A pinhole in one spot often signals corrosion across a wider section. Check 12 inches in each direction from the leak before declaring the job done.
Pro Tip: Before you cut any pipe, open a faucet downstream and confirm no water flows. Even a slow drip during cutting will wash away sealant and ruin the repair before it starts.
Reviewing plumbing safety tips before any repair job reduces the risk of injury and costly mistakes.
Key takeaways
Fixing a leaking pipe successfully requires the right material for your pipe type, a dry and clean surface, and a clear decision on whether a temporary patch or a permanent repair is the right call.
| Point | Details |
|---|---|
| Identify pipe material first | Copper, PVC, PEX, and galvanized steel each require different repair products. |
| Temporary fixes buy time only | Silicone tape and epoxy putty stop active leaks but are not permanent under full pressure. |
| PTFE tape direction matters | Wrap 6 to 10 times in the thread direction to prevent the tape from unraveling. |
| Drain before you cut | Removing water from the line prevents flooding and improves sealant adhesion. |
| Know when to stop | Gas lines, wall leaks, mold, and failed patches all require a licensed plumber. |
What I have learned from years of watching homeowners tackle pipe repairs
The most common error I see is not a wrong technique. It is overconfidence about what a temporary fix can handle. Homeowners wrap silicone tape around a pinhole, restore full water pressure the same afternoon, and call it done. Three weeks later, the tape has shifted and the leak is back, often worse because the pipe wall has softened further.
The second mistake is skipping the diagnosis step entirely. You find a drip, you patch the drip, and you move on. But a single pinhole in a copper pipe that is 30 years old is not an isolated event. It is a signal. The pipe is thinning. The next pinhole will appear within a foot of the first one, usually within a few months. The right response is to patch the immediate leak, then inspect the surrounding pipe and plan a section replacement before the next failure.
Temporary repairs are genuinely useful. They stop water loss, protect your floors, and buy you time to schedule a proper fix. But they are not a substitute for permanent repairs, and treating them as one is where the real cost comes from. A push-fit coupling costs under $10 and takes 10 minutes to install. A water-damaged subfloor costs thousands.
My honest advice: if you are comfortable with the repair and the pipe is accessible, do it yourself. If the pipe is inside a wall, near your foundation, or if you have already tried once and it leaked again, call a licensed plumber. The pipe repair workflow guide from Psvplumbinginc is a solid starting point for understanding what a professional assessment covers.
— Serghei
Need a permanent fix? Psvplumbinginc can help
DIY repairs handle a lot, but some leaks need a licensed professional from the start. Psvplumbinginc provides reliable pipe repair services for both residential and commercial properties, from minor pinhole fixes to full pipe section replacements. Our team is licensed, insured, and experienced with copper, PVC, PEX, and galvanized steel systems.

If you have a leak inside a wall, a failed DIY patch, or a pipe showing signs of widespread corrosion, do not wait. Visit the Psvplumbinginc pipe repair guide to understand your repair options, or go directly to Psvplumbinginc.com to request a free quote. Catching a leak early is always less expensive than repairing the damage it leaves behind. We also offer preventive plumbing inspections to help you stay ahead of problems before they become emergencies.
FAQ
How do I fix a leaking pipe fast without turning off the water?
Self-fusing silicone tape can slow or stop a minor leak temporarily without shutting off the water, but this is a short-term measure only. Turning off the water supply and drying the pipe surface always produces a more reliable repair.
What is the best material to seal a leaking pipe?
Epoxy putty works best for pinhole leaks on copper and PVC pipes, while PTFE tape is the correct fix for leaking threaded joints. Push-fit couplings provide the most durable permanent repair for damaged pipe sections.
How long does epoxy putty take to cure on a pipe?
Most epoxy putty products set in 3–5 minutes but require full curing before water pressure is restored. Full cure time varies by brand, temperature, and humidity, so always follow the manufacturer’s instructions before testing the repair.
When is a pipe leak too serious for DIY repair?
A leak in a gas line, inside a wall or foundation, or accompanied by mold or water damage requires a licensed plumber. Failed previous DIY repairs on the same spot also signal that the pipe needs professional assessment, not another patch.
Does PTFE tape actually stop leaks at pipe joints?
PTFE tape stops leaks at threaded joints when applied correctly, meaning 6 to 10 wraps in the direction of the thread. Applying it in the wrong direction or using too few wraps causes the tape to unravel when the fitting is tightened, which creates a leak rather than preventing one.
Leave a Reply