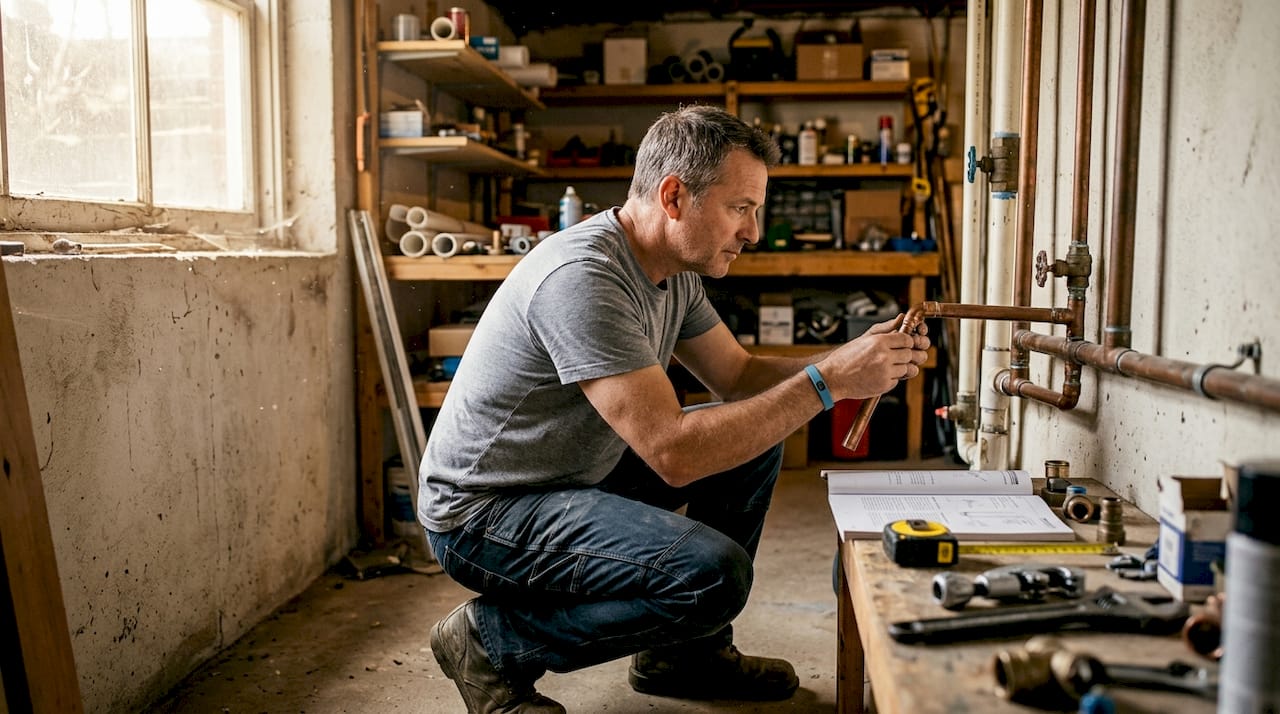
TL;DR:
- Proper pipe installation is essential for reliable water pressure, leak prevention, and structural safety. Proper procedures, such as correct material selection, alignment, support, sealing, and pressure testing, ensure system longevity and performance. Cutting corners in installation can lead to costly damage, mold growth, and property deterioration over time.
Proper pipe installation is the foundational element that determines whether a plumbing system delivers consistent water pressure, prevents leaks, and protects your property from structural damage. In residential and commercial buildings alike, the role of proper pipe installation extends far beyond connecting two pipes together. It governs water flow efficiency, system longevity, and the safety of the structure around it. Small installation errors allow moisture to accumulate gradually, weakening framing, flooring, and finishes over time. Getting it right from the start is the most cost-effective decision you can make as a homeowner or property manager.
What does the role of proper pipe installation actually cover?
Proper pipe installation, known in the industry as pipe fitting, is the complete process of selecting, positioning, joining, supporting, and testing pipes so they function as a reliable system. It covers everything from choosing the right pipe material for your water pressure and environment to verifying that every joint holds under load. The importance of pipe installation becomes clear when you consider that a single misaligned joint or incorrect fitting can cascade into water damage, mold growth, and expensive structural repairs. Well-installed piping systems eliminate water waste from microscopic leaks and reduce vibration and pressure fluctuations throughout the building.
Step 1: select the right pipe material
Material selection is the first and most consequential decision in any pipe installation project. Brass, stainless steel, and Nyglass each offer distinct advantages depending on the environment, pressure requirements, and fluid type. Brass resists corrosion well in hot water systems. Stainless steel handles high-pressure and chemical exposure. PVC and Nyglass work well for drainage and lower-pressure cold water lines. Choosing the wrong material for your conditions accelerates wear and increases the likelihood of joint failure.

Step 2: align pipes within specified tolerances
Alignment is not a cosmetic concern. Correct pipe alignment reduces vibration and pressure fluctuations that cause mechanical stress and premature wear at joints. Pipes that are even slightly out of alignment place constant lateral force on fittings, which loosens seals over time. Use a level and measuring tape at every connection point, not just at the start of a run.

Step 3: support pipes with brackets and hangers
Proper pipe support with brackets and hangers reduces fatigue, cracking, sagging, and separation. That means your pipes stay in position under the weight of water flow and thermal expansion. Support spacing depends on pipe material and diameter. As a general rule, horizontal copper pipes need support every 6 feet, while PVC lines need it every 4 feet.
Step 4: use correct joining and sealing techniques
The joining method must match the pipe material and the pressure rating of the system. Soldering works for copper. Solvent welding works for PVC. Compression fittings work for flexible lines. Thread sealant tape, also called PTFE tape, is applied to threaded connections to prevent slow seepage. Skipping or rushing this step is one of the most common pipe installation mistakes in residential work.
Step 5: pressure test before putting the system in service
Pressure testing after installation confirms that the pipe fitting system has no leakage and can be used long term. A standard hydrostatic test fills the system with water at 1.5 times the operating pressure and holds it for a set period. Any pressure drop indicates a leak that must be found and fixed before the system goes live.
Pro Tip: Always pressure test with water, not air, for residential systems. Water is incompressible, so a failure during testing is a manageable drip rather than a dangerous burst.
What happens when pipe installation goes wrong?
Installation errors are the leading cause of plumbing failures in residential properties. The consequences range from minor inconveniences to serious property damage, and they often develop slowly before becoming visible.
- Poor sealing and incorrect angles cause leakages that increase water waste and damage building structure. Pipe installation errors such as poor sealing cause leakages, pressure issues, and constant costly repairs.
- Wrong material selection accelerates corrosion. A galvanized steel pipe installed in a high-humidity environment will rust from the inside out within a few years, contaminating water and requiring full replacement.
- Inadequate support leads to sagging and joint separation. A sagging drain line loses its slope, which means waste no longer flows freely and clogs become chronic.
- Mismatched fittings are a hidden danger. Incorrect matching of thread standard, nominal size, and pressure rating causes joint failure or leaks. A fitting that looks close enough is not close enough.
- Skipped pressure testing means problems go undetected until water damage is already visible in walls or ceilings.
“Proper pipe fitting is a long-term safety and efficiency investment. Cutting corners during installation trades a small upfront saving for a much larger future expense.”
The financial impact compounds quickly. A slow leak behind a wall can saturate insulation, rot framing, and create mold conditions that cost tens of thousands of dollars to remediate. The impact of pipe installation quality on your property’s value and safety is direct and measurable.
How do pipe materials and fittings affect system durability?
Material choice shapes every downstream decision in a pipe installation project. The table below compares the most common materials used in residential and light commercial plumbing.
| Material | Best Use Case | Key Advantage | Key Limitation |
|---|---|---|---|
| Brass | Hot and cold water supply | Corrosion resistant, long lifespan | Higher upfront cost |
| Stainless Steel | High-pressure and chemical lines | Strength, contamination resistance | Expensive, harder to work with |
| PVC | Drain, waste, and vent lines | Lightweight, affordable, easy to join | Not rated for hot water supply |
| Nyglass | Low-pressure drainage | Flexible, corrosion resistant | Limited pressure rating |
| Copper | Water supply lines | Proven durability, recyclable | Susceptible to hard water scaling |
Premium materials pay for themselves over time by reducing shutdowns and contamination risk, despite higher upfront cost. That is the lifecycle cost argument that experienced plumbers make to every homeowner who asks why they should not just use the cheapest option available.
Fitting specifications must be uniform across the entire installation. A brass fitting threaded to NPT (National Pipe Thread) standard cannot be reliably joined to a BSP (British Standard Pipe) fitting, even if the threads appear similar. Size mismatches create stress points that fail under normal operating pressure. Pressure ratings must also match or exceed the system’s maximum operating pressure at every connection.
Pro Tip: When replacing a single fitting in an older system, bring the original to the supply house and physically compare thread pitch, diameter, and pressure rating before purchasing a replacement.
Visual checks for leaks, staining, and damage every 3–12 months keep joint integrity intact and catch material degradation before it becomes a failure. Stainless steel and brass systems need less frequent inspection than PVC, which can become brittle with age and UV exposure.
What best practices ensure quality pipe installation?
Homeowners and property managers do not need to install pipes themselves to benefit from understanding pipe installation best practices. Knowing what to look for puts you in a position to verify that the work done on your property meets the standard it should.
Before installation begins:
- Confirm the pipe sizing matches the flow rate and pressure requirements of the system. Undersized pipes restrict flow and cause pressure loss at fixtures.
- Map the routing to minimize bends and joints. Every additional fitting is a potential failure point.
- Specify materials in writing before work starts. Verbal agreements about material quality are hard to enforce after the fact.
During installation:
- Verify that all pipes are supported at the correct intervals for the material type.
- Check that every threaded connection uses thread sealant and that every solvent-welded joint has had adequate cure time before pressure is applied.
- Confirm that drain lines maintain the correct slope. The standard for proper drainage techniques is a 1/4-inch drop per foot of horizontal run for drain lines 3 inches in diameter or smaller.
After installation:
- Require a pressure test before walls are closed. Once drywall goes up, finding a leak means tearing it back down.
- Schedule a plumbing inspection within the first year to catch any settling or joint movement.
- Keep a record of pipe materials, fitting types, and routing for future reference. This documentation saves significant time and money during any future repair or renovation.
Recognizing early warning signs matters as much as the installation itself. Discoloration on walls or ceilings, reduced water pressure at specific fixtures, and the sound of running water when no fixture is open are all indicators of a potential installation problem. Catching these signs early limits the damage and the repair cost.
Key takeaways
Proper pipe installation protects your property, preserves water pressure, and prevents the structural damage that faulty fitting causes over time.
| Point | Details |
|---|---|
| Material selection is foundational | Match pipe material to pressure, temperature, and environment to prevent corrosion and premature failure. |
| Alignment and support prevent wear | Pipes installed within tolerance and supported at correct intervals resist vibration, sagging, and joint separation. |
| Pressure testing is non-negotiable | Test every system before closing walls to confirm leak-free joints and long-term reliability. |
| Fitting specifications must match | Thread standard, nominal size, and pressure rating must be uniform across all connections to avoid joint failure. |
| Routine inspection extends lifespan | Visual checks every 3–12 months catch degradation before it becomes a costly structural problem. |
Get expert pipe installation help from PSV Plumbing

Start with our detailed pipe repair workflow guide to understand exactly what a professional installation process looks like from start to finish. If you are ready to take action, our step-by-step repair process walks you through what to expect when working with a qualified plumber. Contact PSV Plumbing today for a free quote and let us protect your property with quality work you can count on.
FAQ
What is the role of proper pipe installation in a home?
Proper pipe installation delivers consistent water pressure, prevents leaks, and protects the structural integrity of your home. It is the foundation of a reliable plumbing system that functions safely for decades.
What are the most common pipe installation mistakes?
The most common mistakes include poor sealing at joints, incorrect pipe alignment, mismatched fitting specifications, inadequate pipe support, and skipping pressure testing before closing walls.
How do i know if my pipes were installed correctly?
Signs of correct installation include steady water pressure at all fixtures, no discoloration on walls or ceilings, and quiet pipes with no vibration or knocking during water flow. A licensed plumber can confirm quality through a pressure test and visual inspection.
How often should pipe systems be inspected after installation?
Visual checks for leaks, staining, and damage every 3–12 months are the industry standard, with frequency depending on system age, material type, and criticality.
Does pipe material really affect how long a system lasts?
Yes. Material choice directly affects corrosion resistance, pressure tolerance, and lifecycle cost. Premium materials reduce shutdowns and contamination risk over time, making them the more cost-effective choice across the full life of the system.
Leave a Reply