TL;DR:
- Over 80% of US homeowners faced unexpected plumbing emergencies last year, highlighting the need for regular checks. A proactive maintenance routine using a detailed checklist can prevent costly repairs, water damage, and health hazards. Regular inspection of fixtures, shutoff valves, water pressure, and hidden leaks, combined with professional help when needed, ensures long-term plumbing system health.
More than 8 in 10 US homeowners experienced an unexpected repair emergency in the past year, and plumbing failures rank among the most stressful and costly of those events. A burst pipe, an overflowing toilet, or a hidden leak behind the wall can turn a quiet weekend into a full-scale disaster within hours. The good news is that most of these emergencies are preventable. A well-organized residential plumbing checklist puts you in control, giving you a clear, repeatable process to catch small issues before they grow into expensive problems. This guide walks you through everything you need to prepare, inspect, and maintain your home’s plumbing system with confidence.
Table of Contents
- Key Takeaways
- Why regular plumbing checks matter
- Before you start: Tools, safety, and prep
- The complete residential plumbing checklist
- Common mistakes and essential troubleshooting
- Verifying results and planning ahead
- Maintain your plumbing—get expert help when it matters
- Frequently asked questions
Key Takeaways
| Point | Details |
|---|---|
| Routine checks save money | A consistent plumbing checklist can help you spot and address minor issues before they cause major damage. |
| Preparation prevents emergencies | Knowing your main shutoff valve location and preparing tools reduces damage during unexpected incidents. |
| Comprehensive checks matter | Combine visual, functional, and diagnostic steps to find leaks and pressure problems early. |
| Track and plan | Keep a record and schedule annual maintenance to stay ahead of costly plumbing surprises. |
| Professional help is crucial | Don’t hesitate to call an expert for complicated issues or comprehensive inspections. |
Why regular plumbing checks matter
Most homeowners only think about their plumbing when something goes wrong. That reactive approach costs far more time and money than a proactive one. Small drips become rotted subfloors. Slow drains turn into fully blocked pipes. What would have been a $15 washer replacement becomes a $2,000 flood repair. The financial case for regular maintenance is straightforward, but the safety case is just as compelling.
Clogged toilets and pipe breaks are consistently among the top emergency repair categories homeowners face, and both are largely preventable with routine inspection. Beyond property damage, neglected plumbing creates health hazards. Persistent moisture leads to mold growth, which can affect indoor air quality and trigger respiratory problems for your family.
Regular checks protect more than your wallet. They protect your property value and your peace of mind. Here is what proactive plumbing maintenance helps you avoid:
- Water damage from undetected leaks behind walls, under floors, and around appliances
- Mold and mildew growth from ongoing moisture in hidden or poorly ventilated areas
- Sewage backups from neglected drain vents and blocked sewer lines
- High utility bills caused by running toilets, dripping faucets, and inefficient water heaters
- Emergency service fees that can run two to three times higher than standard repair rates
“An ounce of prevention is worth a pound of cure” has never been truer than when applied to residential plumbing. The average emergency plumbing call costs significantly more than scheduled maintenance visits, yet most homeowners wait until failure to act.
We recommend using a structured plumbing maintenance checklist every season and following a thorough inspection process at least once a year. When something feels urgent, knowing the difference between a manageable issue and a true crisis starts with identifying plumbing emergencies before they escalate.
Before you start: Tools, safety, and prep
Understanding the risks makes it crucial to start with proper preparation and the right tools before tackling routine checks. Walking through your home without a plan or the right equipment means you will likely miss problems that a prepared homeowner would catch immediately.
First, confirm that the main shutoff valve is easy to locate and turns without sticking. This one step could be the most important thing you do before any inspection. If you cannot shut off your water supply quickly during an emergency, any small issue can become catastrophic within minutes.

Here is a quick-reference table of the tools you need and how often you will use them:
| Tool | Purpose | How often needed |
|---|---|---|
| Adjustable wrench | Tighten loose fixture connections | Every check |
| Flashlight or headlamp | Inspect dark spaces under sinks and behind appliances | Every check |
| Water pressure gauge | Measure psi at outdoor hose bib | Annually |
| Bucket and towels | Catch water during tests and minor repairs | Every check |
| Rubber gloves | Hygiene protection during drain and toilet checks | Every check |
| Screwdriver set | Remove access panels for water heater and shut offs | As needed |
| Pipe thread tape | Seal minor threaded connection leaks | As needed |
Beyond tools, set up for success before you start:
- Label all shutoff valves with waterproof tape so any household member can shut off supply to the kitchen, bathrooms, or laundry room in seconds
- Post your plumber’s contact number near the main shutoff and save it in your phone
- Clear the space under sinks and around appliances before inspecting so you can see clearly
- Test your main shutoff valve by turning it fully off and back on to confirm it moves freely
Pro Tip: Spray a small amount of penetrating oil on any shutoff valve that feels stiff. Do this before you need to close it in an emergency. A valve that won’t turn under pressure is no valve at all.
A final piece of prep is familiarizing yourself with your water heater’s location and age. Reliable water heater maintenance tips can extend its lifespan by years and help you spot safety issues before your unit fails without warning.
The complete residential plumbing checklist
With tools and safety covered, you are ready to work through a structured checklist that minimizes the chance of missed problems. We organize this into three types of checks: visual, functional, and diagnostic. Together, they give you a full picture of your plumbing system’s health.

| Check type | What it involves | Key benefit |
|---|---|---|
| Visual | Looking for leaks, corrosion, moisture, and damage | Fast and requires no tools |
| Functional | Testing pressure, drain speed, and valve operation | Confirms systems work correctly |
| Diagnostic | Water meter test, TPR valve test, sediment check | Catches hidden problems |
Follow these steps in order for every room and area of your home:
-
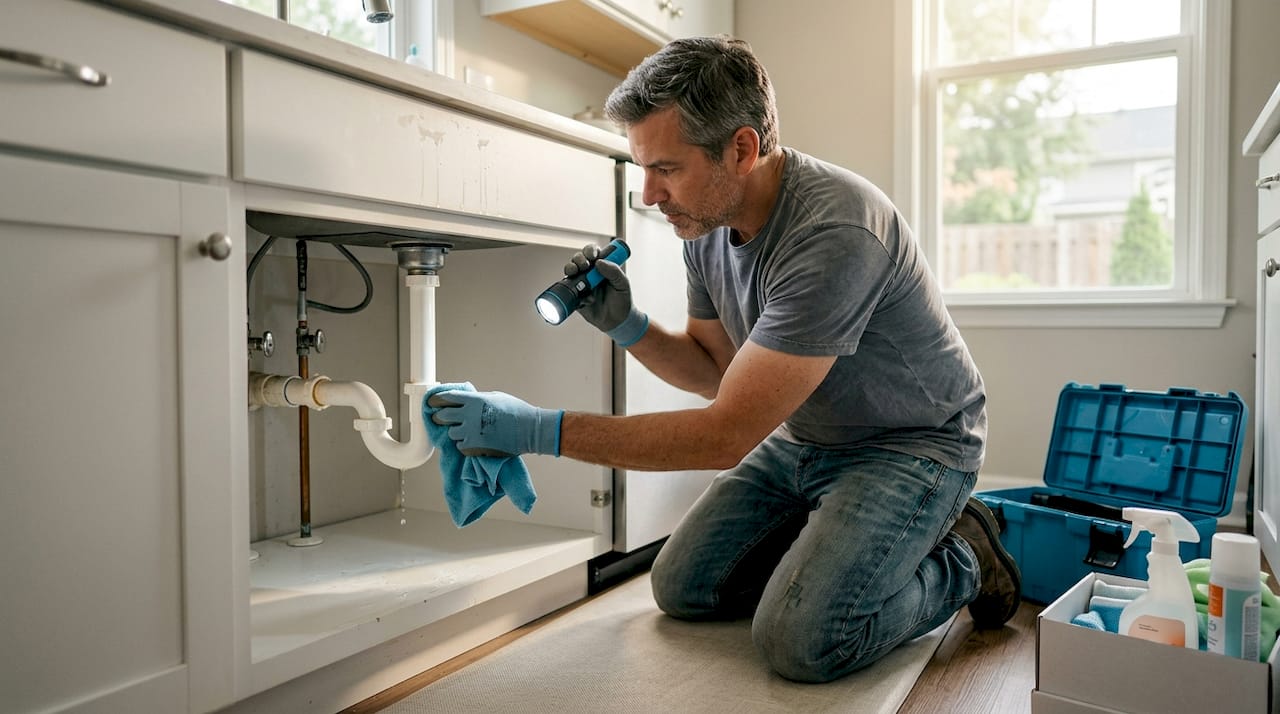
Kitchen sink and dishwasher: Look under the sink for moisture, staining, or soft cabinet floors. Run water and observe drain speed. Check supply line connections for drips. Pull the dishwasher out slightly once a year to confirm no water sits under or behind it.
-
Bathrooms (toilet, sink, shower, tub): Flush each toilet and watch for slow refill or running water sounds after the tank fills. Press gently on floor tiles around the toilet base to feel for soft spots, which indicate hidden water damage. Run the faucets and check drain speed. Inspect supply lines behind toilets and under sinks for any sign of moisture or corrosion.
-
Water heater: Look for rust, corrosion, or pooled water at the base. Test water pressure at an outdoor hose bib using your pressure gauge. Ideal residential pressure runs between 40 and 60 psi. Anything above 80 psi risks pipe and appliance damage. Test the TPR (temperature and pressure relief) valve by briefly lifting the lever and confirming water flows and stops cleanly. Flush the tank annually to remove sediment that reduces efficiency and shortens the heater’s life.
-
Laundry room: Inspect washing machine hoses for bulging, cracking, or stiff spots. Replace rubber hoses every three to five years regardless of appearance. Check floor drain function by pouring a cup of water down it. Confirm the dryer vent is clear and unobstructed, as lint buildup near plumbing access areas creates additional risk.
-
Basement and utility areas: Look at exposed pipes for signs of corrosion, rust streaks, or white mineral deposits at joints. Check sump pump operation by pouring water into the pit. Inspect floor drains and confirm they are clear.
-
Outdoor spigots and irrigation: Turn each outdoor faucet on and off to confirm no dripping after shutoff. Check for frost damage on exposed pipe sections if you are in a cold climate. Inspect visible irrigation lines for cracks or pooled water.
-
Hidden leak diagnostic: Turn off every fixture and appliance in the home. Go to your water meter and watch the dial or digital display for movement on the water meter. Any movement with everything off points to a leak somewhere in the system. Mark the reading, wait 15 minutes, and check again for added certainty.
Pro Tip: Take photos of every area you inspect and note the date. This creates a record you can compare year over year, and it is invaluable if you ever need to make a warranty or insurance claim.
The plumbing inspection process we follow professionally mirrors this structure. If you want a deeper look specifically at your bathroom, detailed bathroom plumbing inspection steps can help you catch even more subtle signs of trouble.
Common mistakes and essential troubleshooting
A thorough checklist is only useful if you know how to recognize and correct issues. Most homeowners complete a visual pass, see nothing obviously wrong, and call it done. That approach misses the problems that cause the biggest repairs.
The most common mistake is ignoring functional and diagnostic checks. Supply line leaks and slow drips may look insignificant, but a slow drip under a kitchen sink can release dozens of gallons per week into your cabinet floor, creating mold and structural rot over months. Skipping a pressure check means you may never know your system is running at 90 psi, stressing every connection and appliance every single day.
Here are the top mistakes homeowners make during plumbing checks, and how to correct them:
- Skipping under-sink inspections because the cabinet looks dry on the outside. Always open cabinet doors and use a flashlight to inspect the back wall and floor.
- Ignoring slow drains as “just how this sink is.” A slow drain signals a partial blockage that will fully clog without intervention.
- Testing only one faucet for pressure when pressure can vary significantly between floors and fixtures. Test at least two locations.
- Never exercising shutoff valves. Valves that sit untouched for years corrode and seize. Turn them off and back on at every inspection.
- Putting off water heater flushing because it seems complicated. It takes about 20 minutes and extends heater life by years.
“Adding a functional and diagnostic layer to your inspection, using a pressure gauge and watching the water meter, catches issues that no visual walkthrough alone will ever reveal.” — Plumbing inspection checklist best practices
Contact PSV Plumbing to discuss the problem, property location, and appointment availability.
Verifying results and planning ahead
Having fixed or flagged trouble spots, the next step is making sure your efforts pay off long term through simple verification and a plan for ongoing maintenance. One thorough checklist is a good start. A consistent habit is what actually protects your home.
Follow these steps after every inspection:
- Review your checklist line by line. Mark each item as clear, flagged for repair, or completed. Do not leave any item blank, even if the finding is “no issues observed.”
- Schedule follow-up repairs before you put your tools away. A flagged item without a follow-up date almost always gets postponed until it becomes an emergency.
- Record all main valve and fixture tests in a dedicated home maintenance log or app. Note the date, what was tested, pressure readings, and any action taken.
- Set calendar reminders for your next seasonal visual check and annual full inspection. Treat these like any other home maintenance commitment, such as changing HVAC filters or testing smoke detectors.
- Update your emergency contacts in your log, including your licensed plumber’s number, the local water utility’s emergency line, and your insurance company’s claims department.
Pro Tip: Set a recurring phone reminder for the first weekend of every October as your annual plumbing check date. Fall is ideal because you can catch any summer wear before freezing temperatures stress your pipes.
Keeping records also helps you spot patterns. If you note slow drain speed in the main bathroom for two consecutive years, that tells you there is a recurring partial blockage worth clearing professionally. For ongoing ideas to improve your system’s long-term performance, explore resources on boosting plumbing efficiency and review your recording plumbing maintenance process each year.
Maintain your plumbing—get expert help when it matters
Once you have done all you can on your own, knowing when to call in a professional is just as important as the checklist itself. Persistent low water pressure, a water heater that still underperforms after flushing, stubborn drain clogs that return within weeks, or a main shutoff valve that will not turn are all signs that you need an experienced, licensed plumber to take a closer look.

At PSV Plumbing Inc, we back every inspection and repair with reliable workmanship, transparent pricing, and a commitment to keeping your home safe and efficient. Our team is ready to help you tackle anything your checklist uncovers, from a minor valve replacement to a full pipe repair or water heater service. Explore our full maintenance checklist resources and get in-depth water heater advice to stay ahead of problems year-round. Contact us today for a free quote and let’s make sure your plumbing is working exactly as it should.
Frequently asked questions
How often should I perform a residential plumbing checklist?
At minimum, complete your plumbing checklist at least annually, but do quick visual checks each season, especially before winter and after heavy summer use.
What should I check first to prevent major water damage?
Start by testing your main shutoff valve and checking for leaks under sinks and around toilets or appliances, since these are the most common sources of hidden water damage.
How do I detect hidden leaks in my plumbing system?
Turn off all fixtures and watch your water meter for movement. Any movement with everything off suggests a hidden leak, as water meter monitoring is one of the most reliable detection methods available to homeowners.
What water pressure should I expect in my home?
Ideal residential water pressure falls between 40 and 60 psi. Pressure consistently above 80 psi can damage pipes, appliances, and fixture connections over time.
Is annual water heater flushing really necessary?
Yes. Flushing your water heater once a year removes sediment that reduces efficiency and shortens the unit’s lifespan, making it one of the highest-value maintenance tasks you can do.
Leave a Reply